
A rebreather, and all those bottles too?
By Jan Willem Bech
05-01-2023
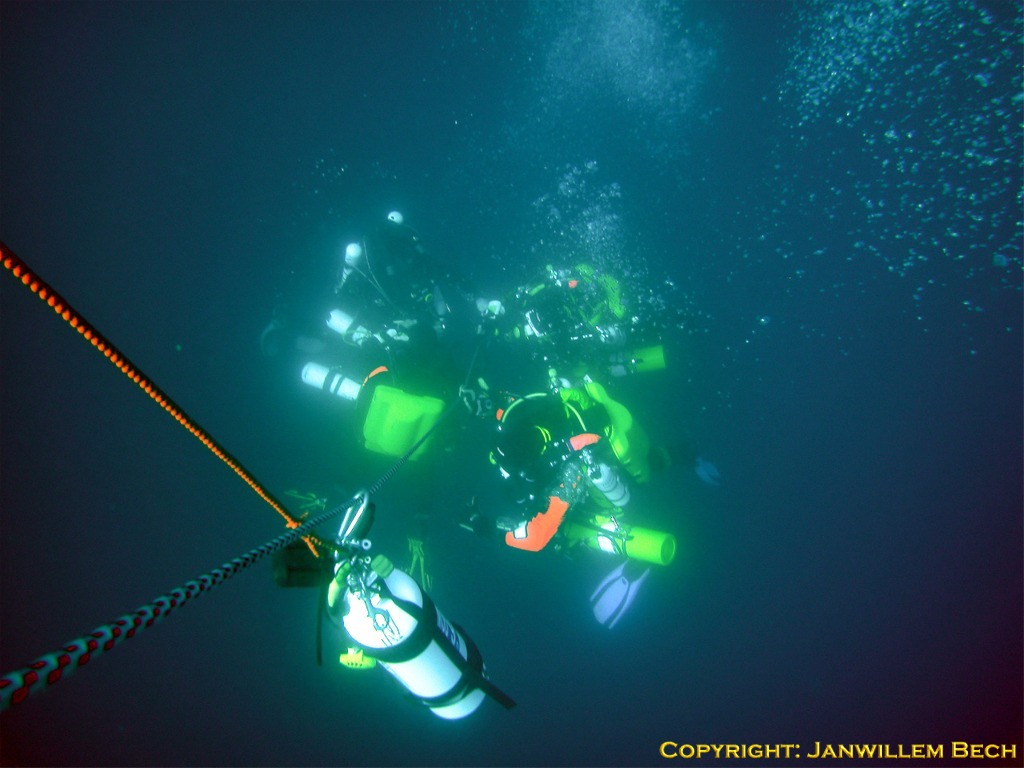
This page is about side mounted cylinders. This is a subject covered extensively in rebreather training. The information on this page does not aim to replace any of the training information. The aim is to tell novice divers something about side mounted cylinders also called stages.
You often see rebreather divers diving with an extra cylinder, sometimes two and sometimes even more! Rebreathers can provide endless breathing gas, which is why some divers wonder what the point of these cylinders is.
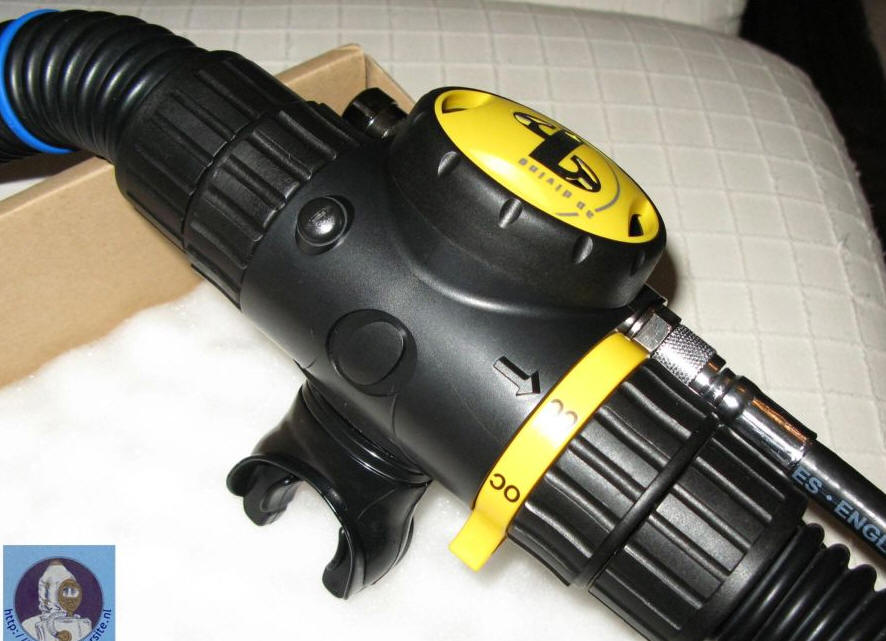
The answer is; you only take them for safety! Suppose you run into a problem with a rebreather. You will then try to solve that problem but preferably not while breathing gas that is unsuitable. A good practice is then to immediately switch to breathing gas from a stage. They are also called bail out cylinders for this reason. Some rebreathers have a mouthpiece that is also connected to a gas cylinder so that by turning a knob on the mouthpiece they can switch directly to bailout.
But then why so many bottles?
Realise that you dive with a rebreather to dive deeper and longer. The deeper you dive the longer it will take you to return to the surface. If you go deeper than 40 metres you will need a second mix that contains less oxygen and it is necessary to perform the dive with two extra cylinders. Because deeper dives almost always require you to decompress, at shallow depths you will want to breathe a gas with the highest possible oxygen proportion during decompression to get rid of nitrogen faster. So we need a decompression gas and a bottom gas. Diving deeper than 80 metres, a third gas is often even needed. We then dive with 3 or 4 stages!
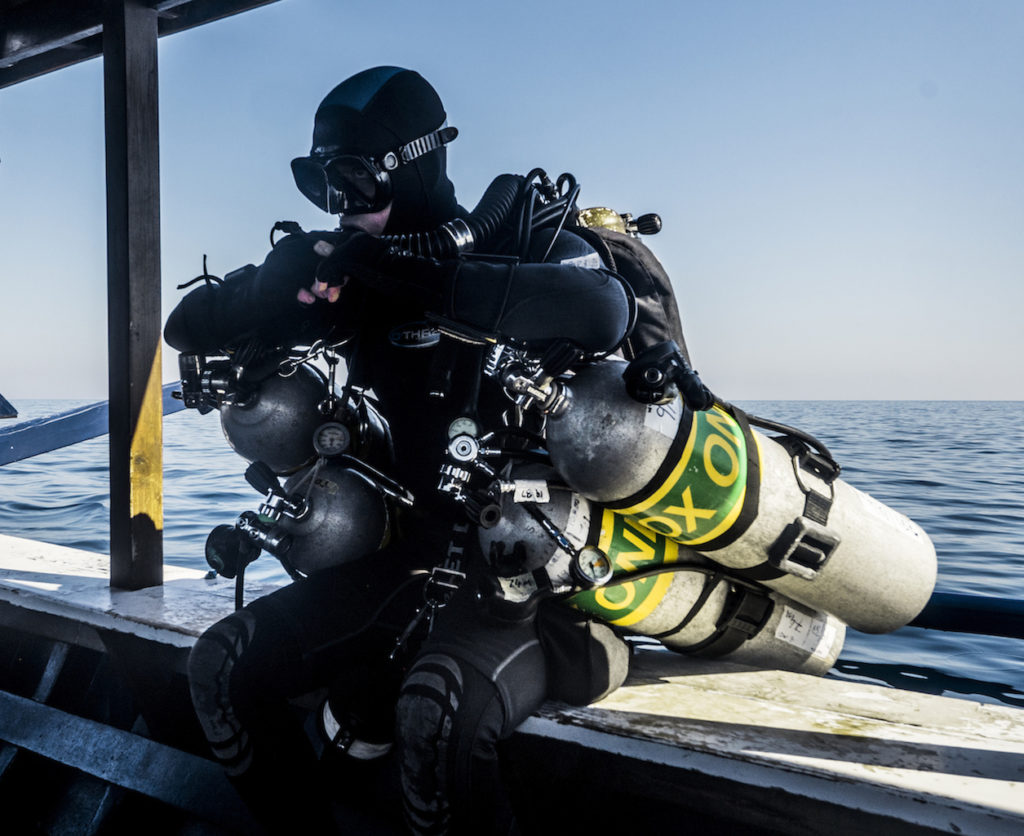
How a stage is assembled is the subject of many discussions. There are several techniques that you will master in your training. In the beginning, for level 1, you dive to a depth of about 30 metres and can generally return to the surface with your inboard 3 litre without decompression. Once you start wreck diving, it will soon be decided to bring an extra cylinder to have a little more gas with you. As soon as decompression becomes an obligation, however, it is often necessary to bring at least two extra cylinders.
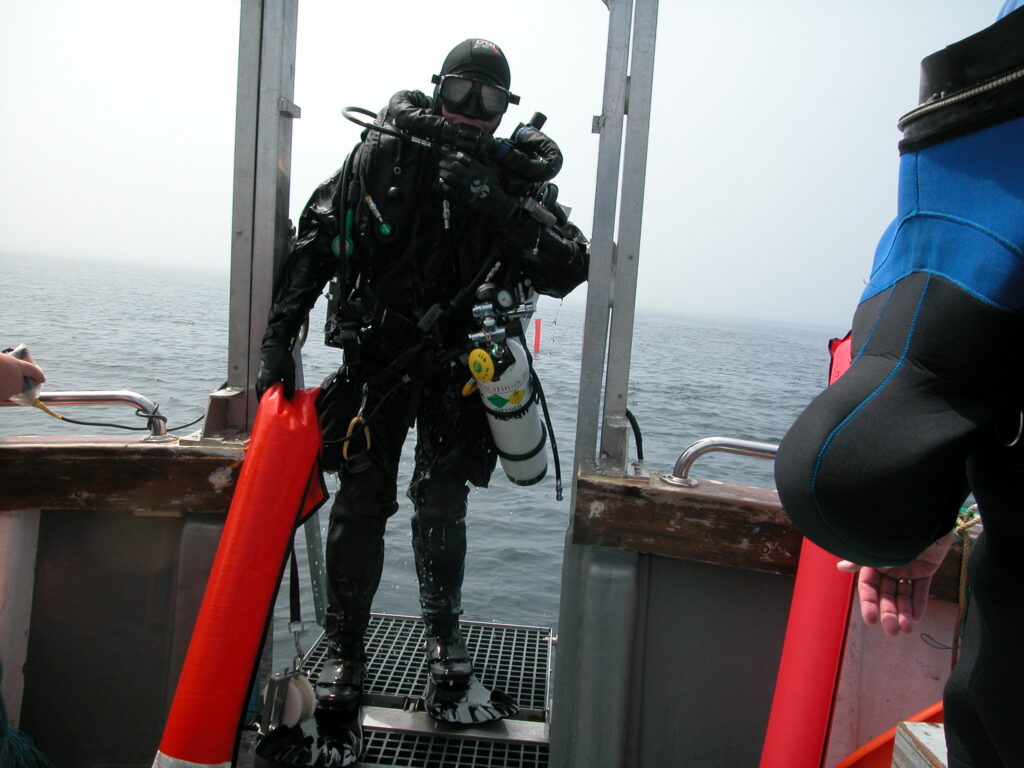
Most divers work with boltsnaps, hooks that you use to attach the cylinder to your equipment. The so-called ‘configuration’ depends a lot on where you dive, how your equipment is positioned and the size of the cylinders. An important fairly general rule is that cylinders with low oxygen mixes are hung on the left (as seen from the diver’s point of view) and oxygen-rich mixes are hung on the right. A mnemonic is left=lean and rich=right.
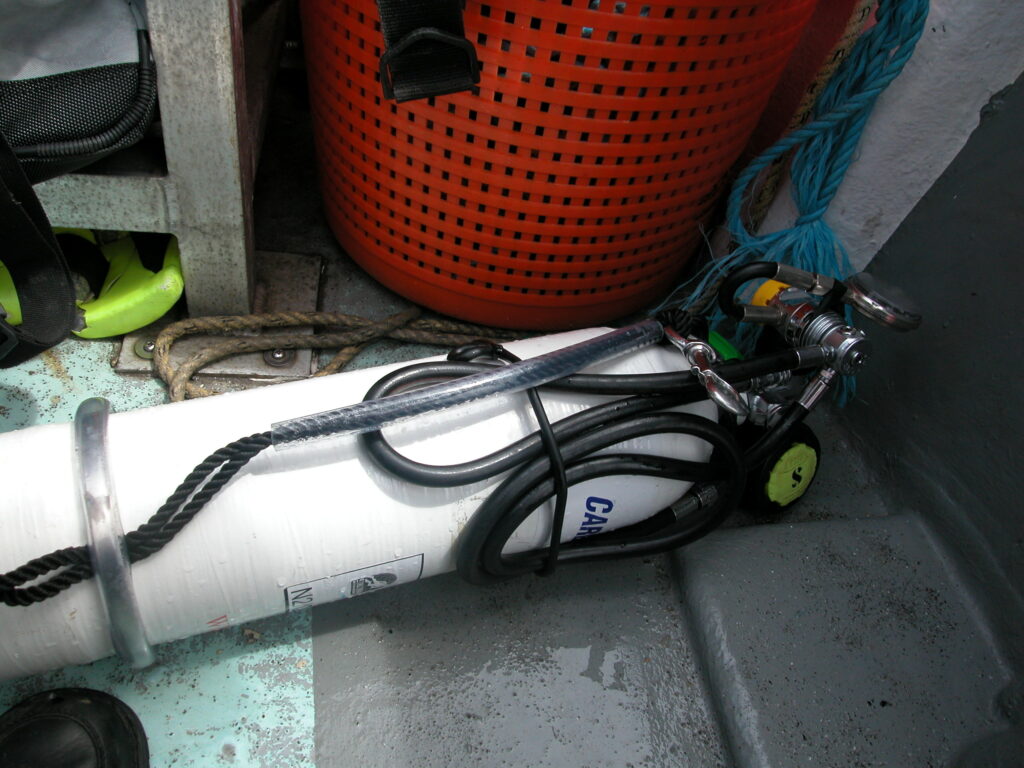
It is good practice to equip every bottle with a pressure gauge. Special short hoses are used for this purpose to avoid having to store extra hoses. The dispenser’s hose is stowed under rubber bands to avoid snagging on underwater objects. The boltsnap hooks are preferably substantial (1″) to be operated with gloves. There are many insights and comments from experienced and inexperienced divers on how a good stage should be equipped. I myself have always found it more important to be able to safely, quickly and reliably grab my regulator underwater. There are also divers who swim with closed valves, while other divers swim with opened valves. In any case, it is important that the pressure gauge and regulator are pressurised so that they are ready for use when needed. The first breath from a bailout regulator is often an extremely desirable gas dose!
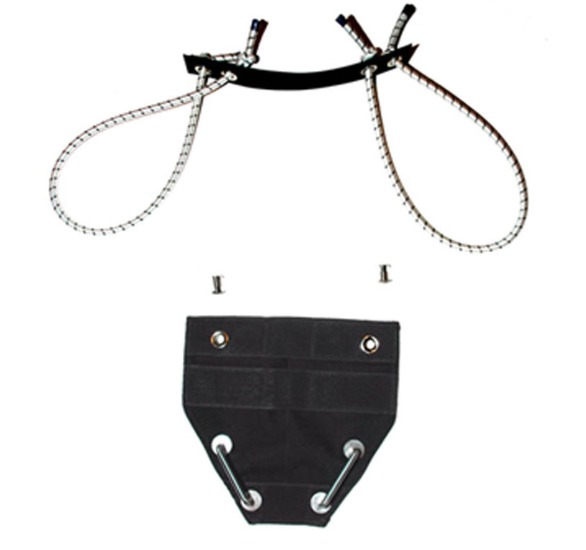
This configuration has been devised so that the diver experiences maximum comfort as the bottles are hooked low at the bottom of the back and the head of the bottle is hooked with two bungee elastics.
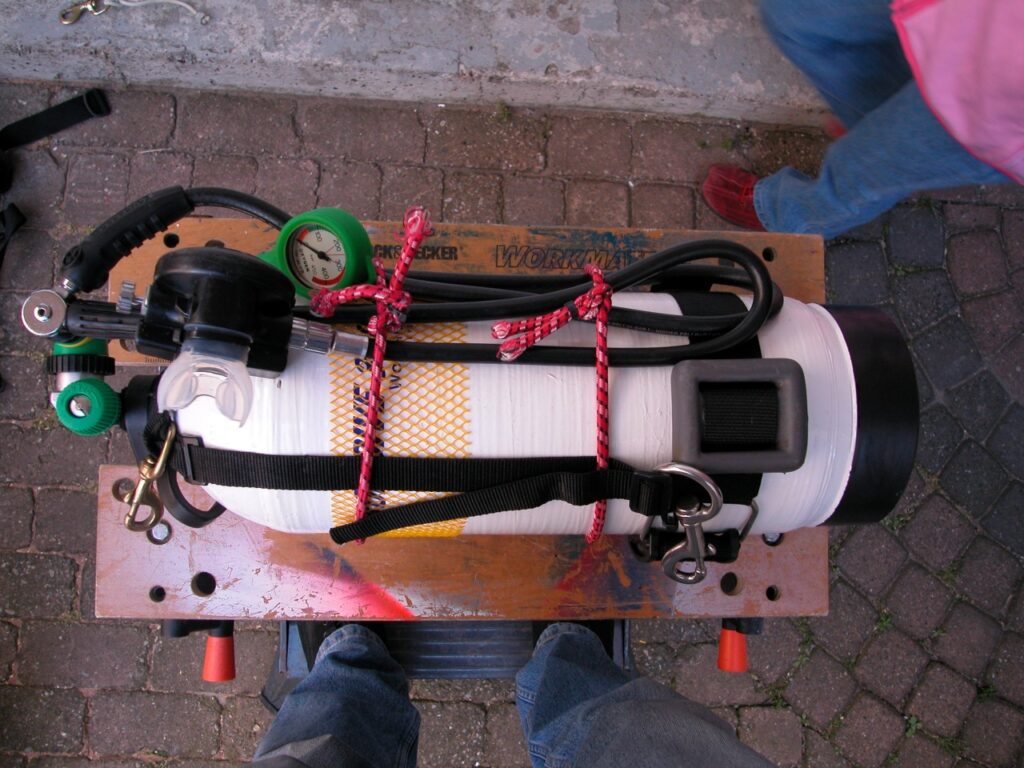
Marking is another important part of your training. Stages should always be suitable for the intended gas. Rich oxygen mixtures belong in clean bottles suitable for oxygen and are in oxygen service! Marking and analysing is vital. Unfortunately, I lost good diving friends to have this part of dive preparation relegated to the background. Preparing for a rebreather dive consist at least as much attention to the rebreather as to the bailout cylinders. Marking is essential to be sure which gas you are breathing. By indicating this clearly near the foot or neck (not in the middle), you yourself but especially also your buddy know which gas you are breathing. Especially during dives with loose cylinders suspended at deco depths, it is essential to indicate this very clearly! Preferably use large letters and numbers and indicate your MOD not your mix!
The MOD depends on where you dive in feet or metres, an interesting difference to agree in advance of the dive! Keep this in mind in international groups. I myself used a small label printer with 69 mm waterproof plastic in white and yellow that could print MOD 9 just fine on my 80% EAN stage.
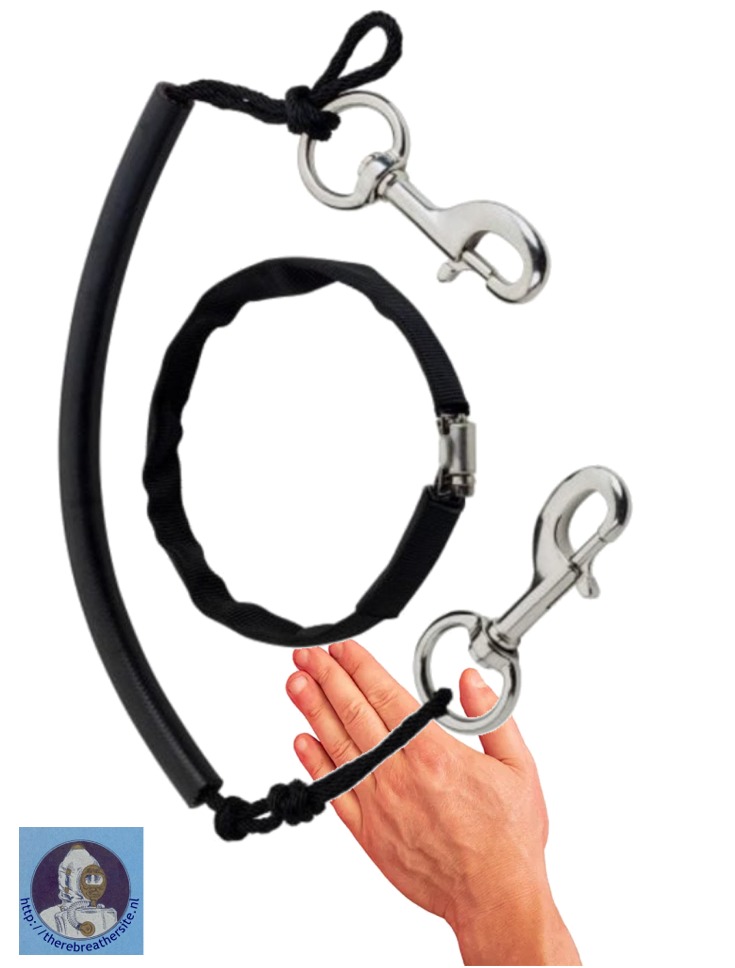
One last tip: Swapping lean and rich mixtures is more common than you think. It can be fatal if you start breathing from your 80% oxygen cylinder at 50- metres (6 x 0.8 = pO2= 4.8 bar!). You will pass out within 3 minutes or so. Your buddy has a very serious problem. What are you going to do with a diver who is unconscious at that depth with a rebreather and two stages! You have to avoid this. Think of a way to have your cylinders in the right place with certainty yourself. Different dispensers, or differently colored Boltsnaps, there are dozens of ideas, but make sure you always avoid this scenario!

Therebreathersite was founded by Jan Willem Bech in 1999. After a diving career of many years, he decided to start technical diving in 1999. He immediately noticed that at that time there was almost no website that contained the history of closed breathing systems. The start for the website led to a huge collection that offered about 1,300 pages of information until 2019. In 2019, a fresh start was made with the website now freely available online for everyone. Therebreathersite is a source of information for divers, researchers, technicians and students. I hope you enjoy browsing the content!
