
How can I travel lightweight with the rebreather?
The primary goal why the Travelframe was designed is to put the entire frame and rebreather unit into a carry-on bag to take on-board a plane. The construction of the Inspiration rebreather is very reliable and has proven its quality over the years. However, there has always been a search for an additional and more compact or universal model. For travelling the unit is not very easy to handle. One of the desires was to have a unit in which one can mount different sized bottles. To this purpose a small group of designers developed the Travelframe. Their design appeared attractive for a specific group of divers. I am very happy that I could buy one of these frames to try the functionality. Hereunder described you can find the placing of Inspiration components into the Travelframe.

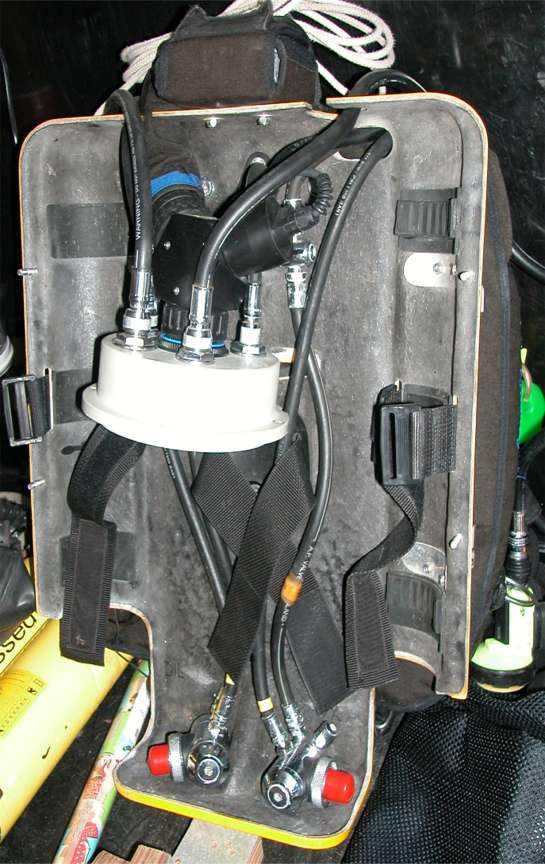
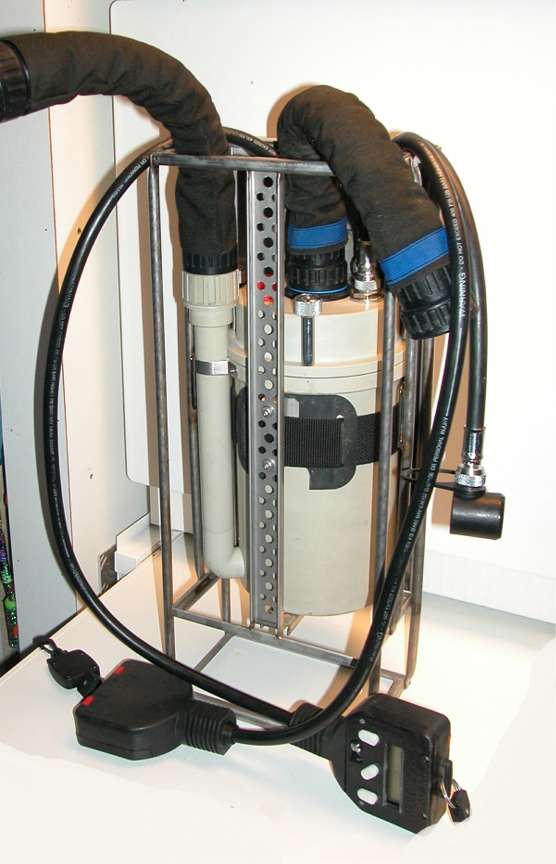
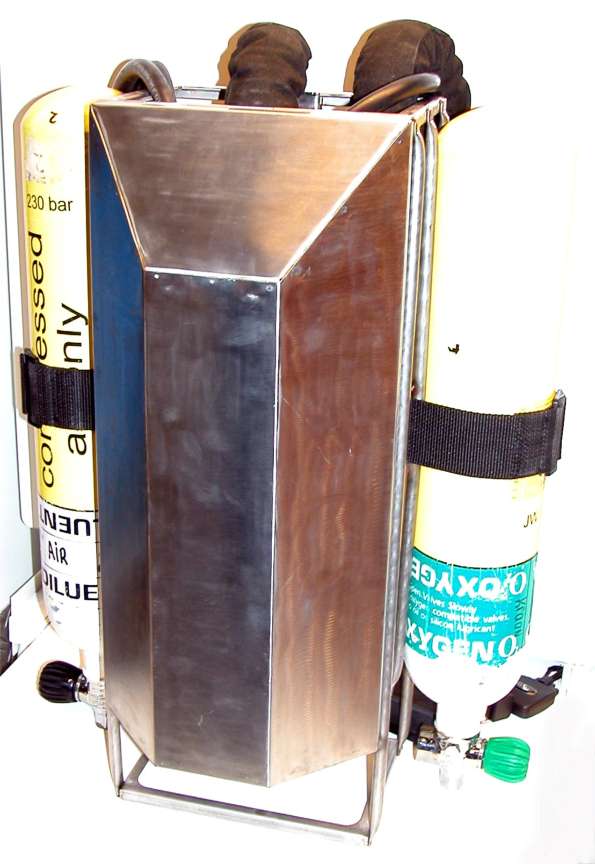
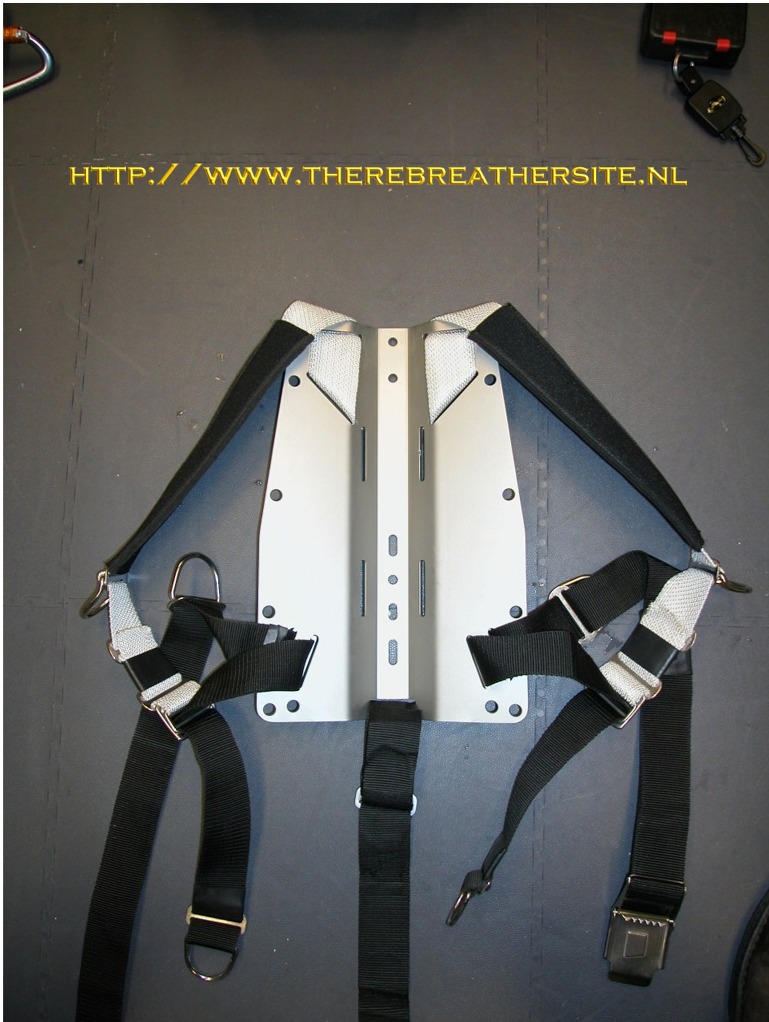
Here you see my first impression. A very slim, light and streamlined design. The unit has been build from stainless steel (AISI304), the joints are TIG or (WIG) welded. Very light materials were used for this robust and strong construction. We are, however, still awaiting the first carbon < 0.3 kg design! This unit weighs about 2 – 2.5 kg depending the model.
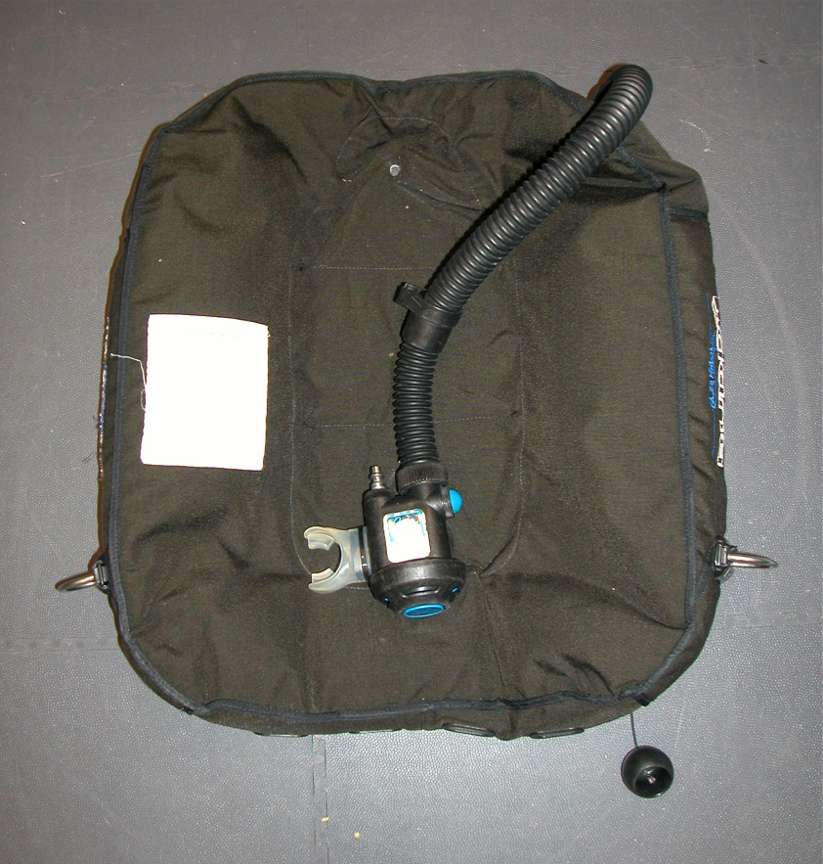
As you can see the scrubber easily fits in the unit. We now have to think of a way to assemble this unit further.
This picture, of course, can not be an example of a standard usual Inspiration rebreather. However, I am the proud owner and am using this unit since 1999! It takes courage to disassemble my baby and put it in a cold stainless steel frame….. But, I have my reasons. I am planning a trip to Italy or Egypt and I am not a millionaire. The overweight price has killed my trip to Palau, to Surinam and other locations I would have loved to go.
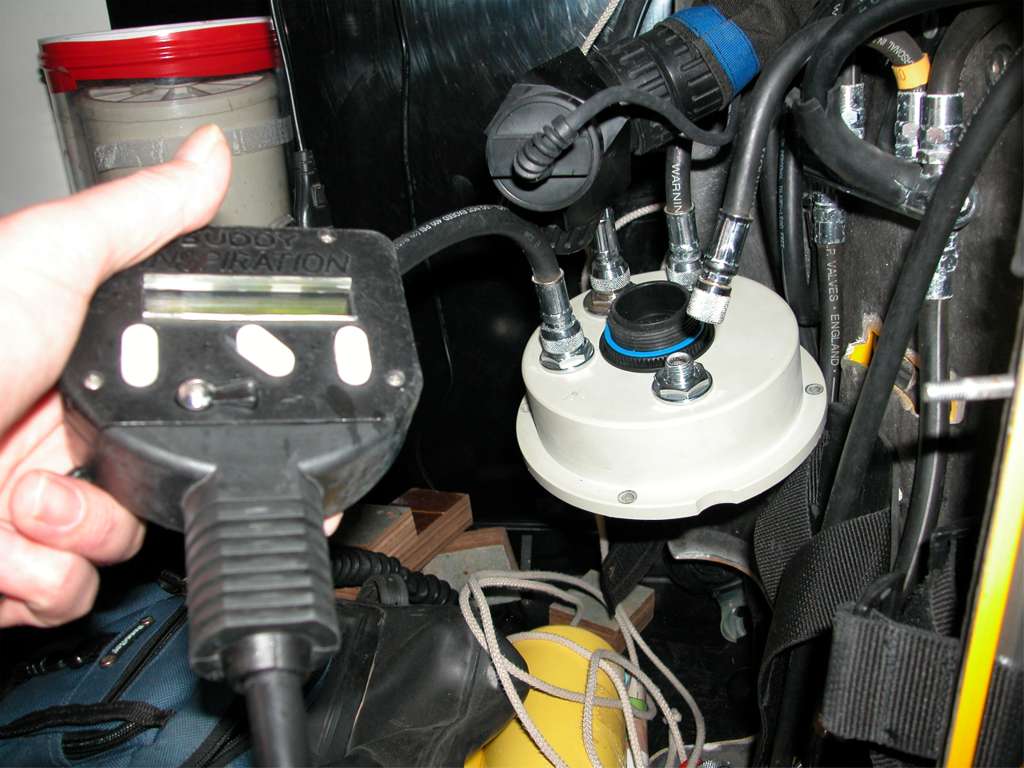
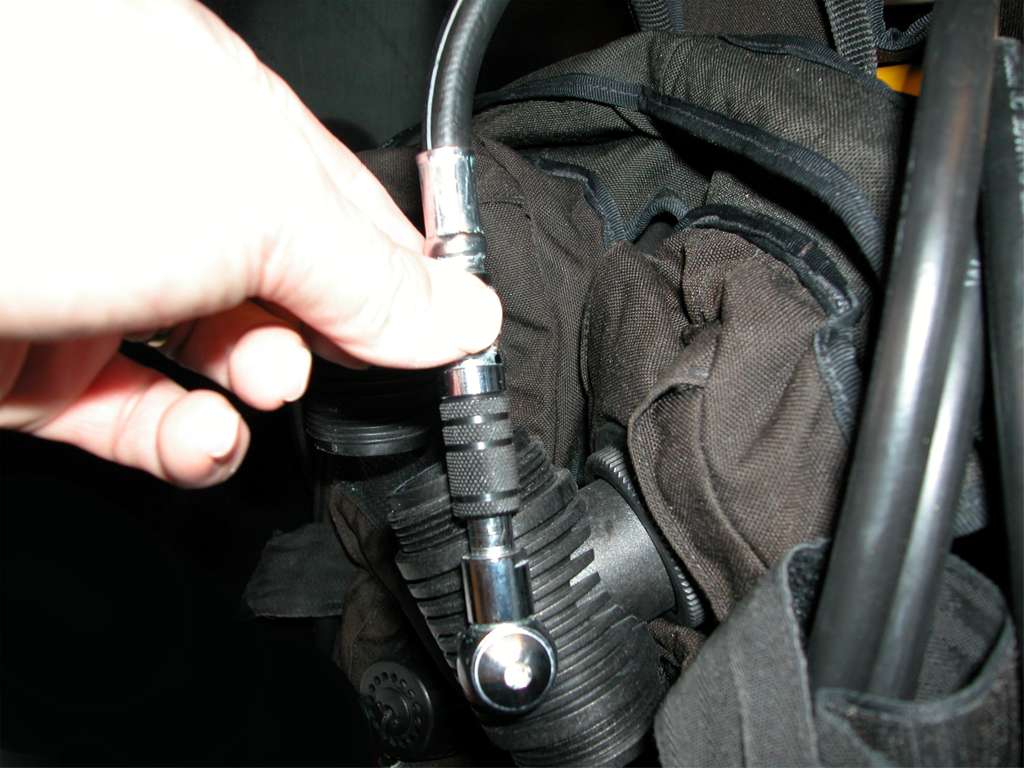
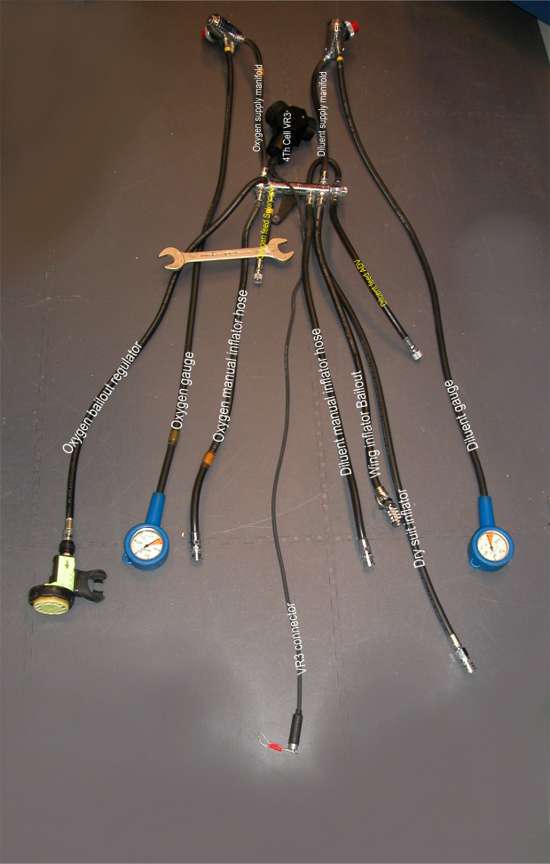
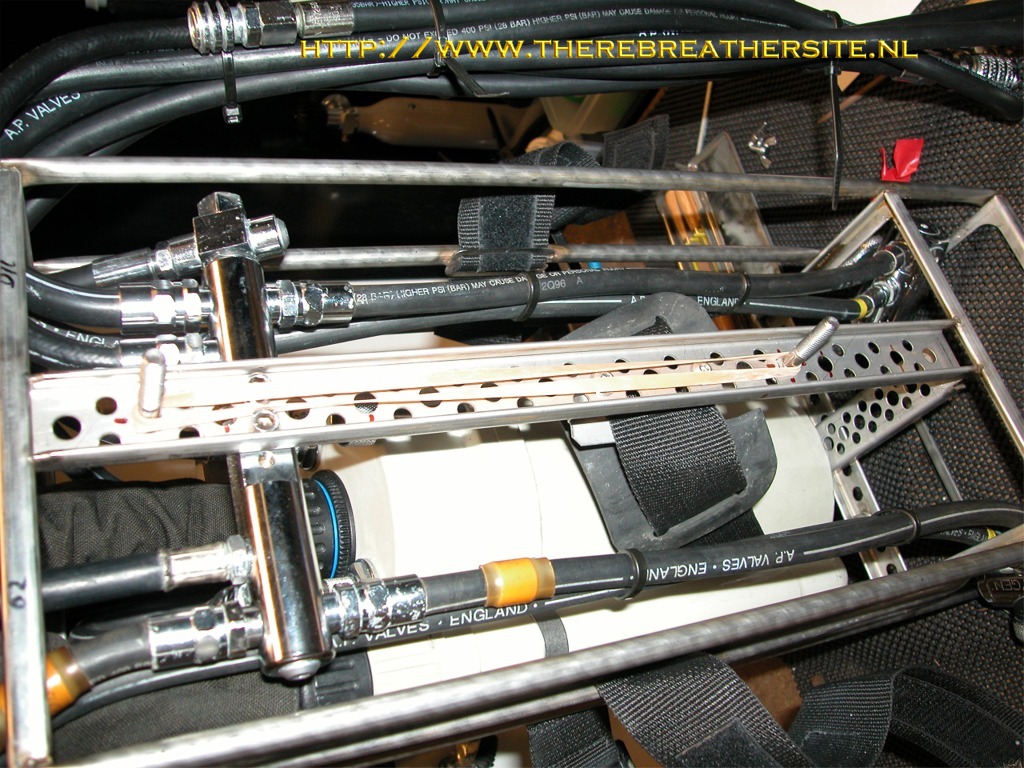
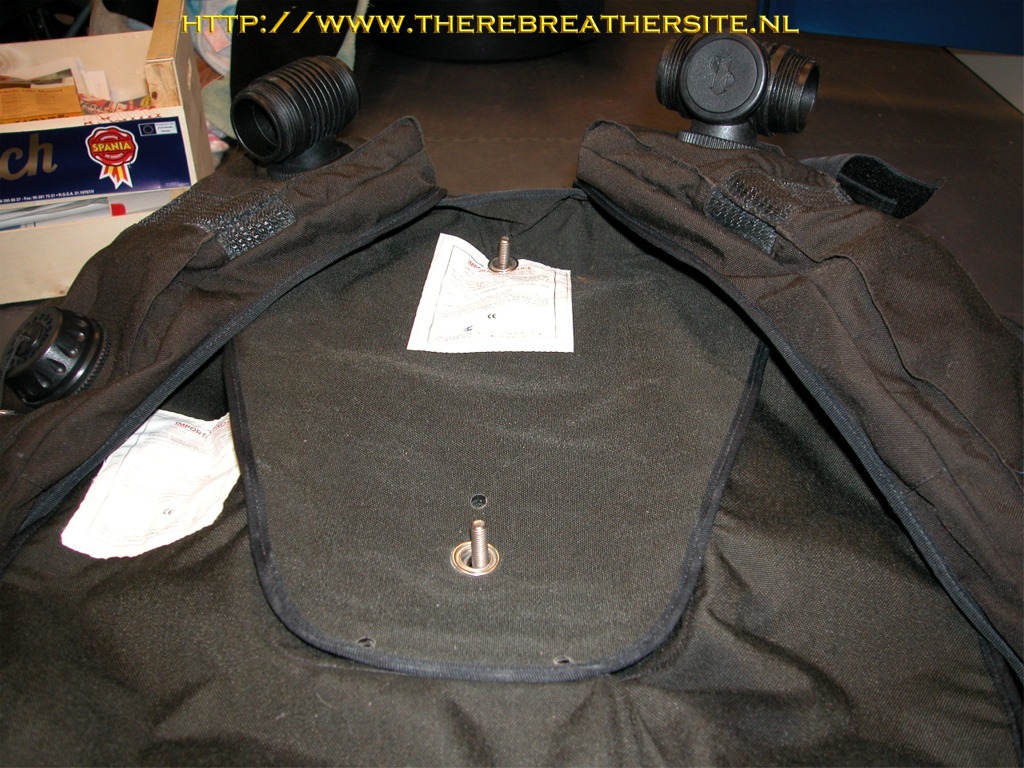
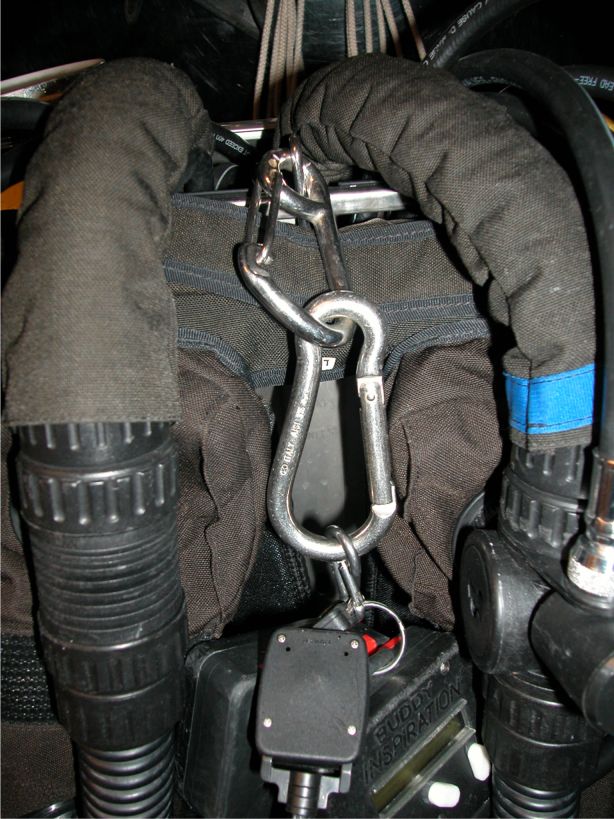
To dismantle the unit I started to disassemble the oxygen feed hose of the solenoid.
I then disassembled my fourth cell system. I have to tell you I really dislike this system. It never managed to give me a proper pO2 and I followed years of discussion about this subject. It is really not good. The producer of the VR3 never offered good information how to achieve a proper cell reading. I also think the new handset of APD solves all problems. Another solution would be a true 4/5 th cell core in the lid.
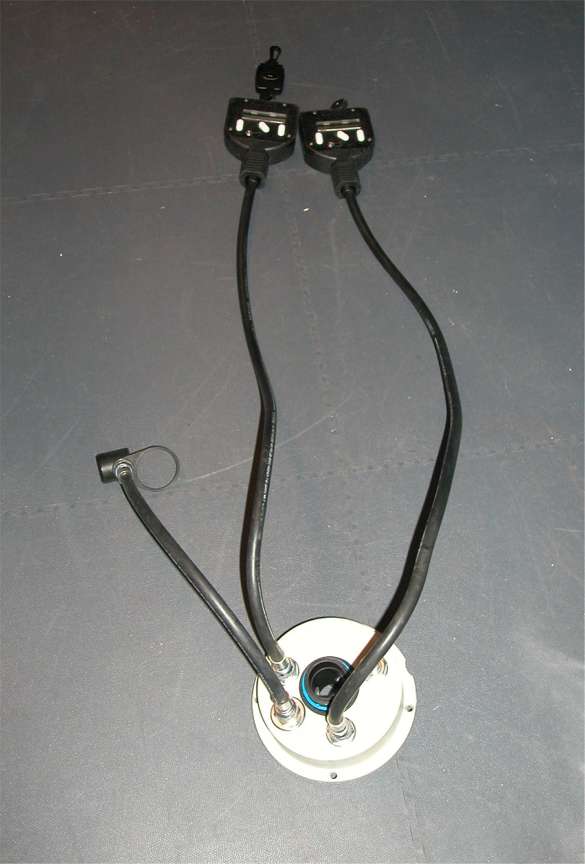
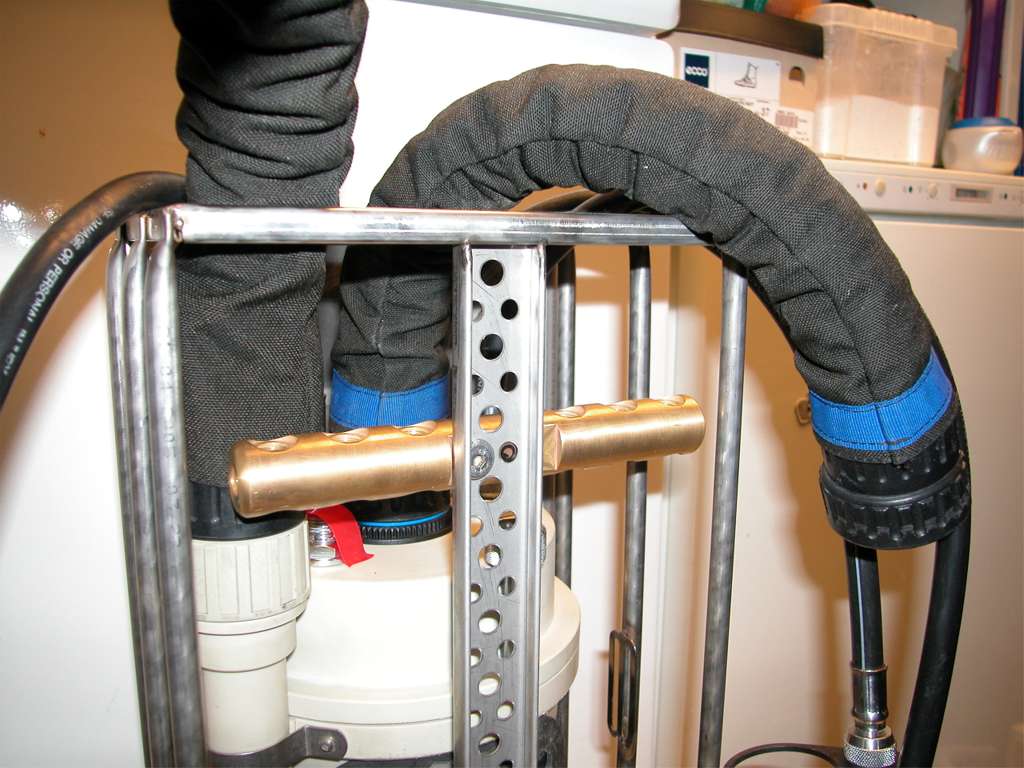
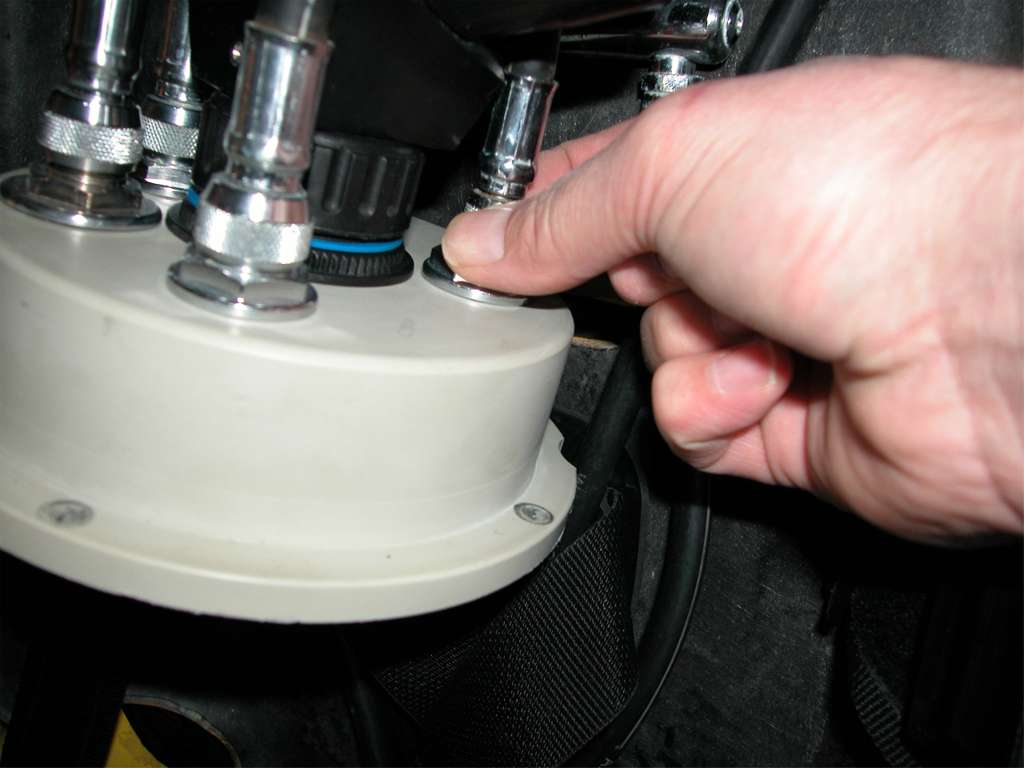
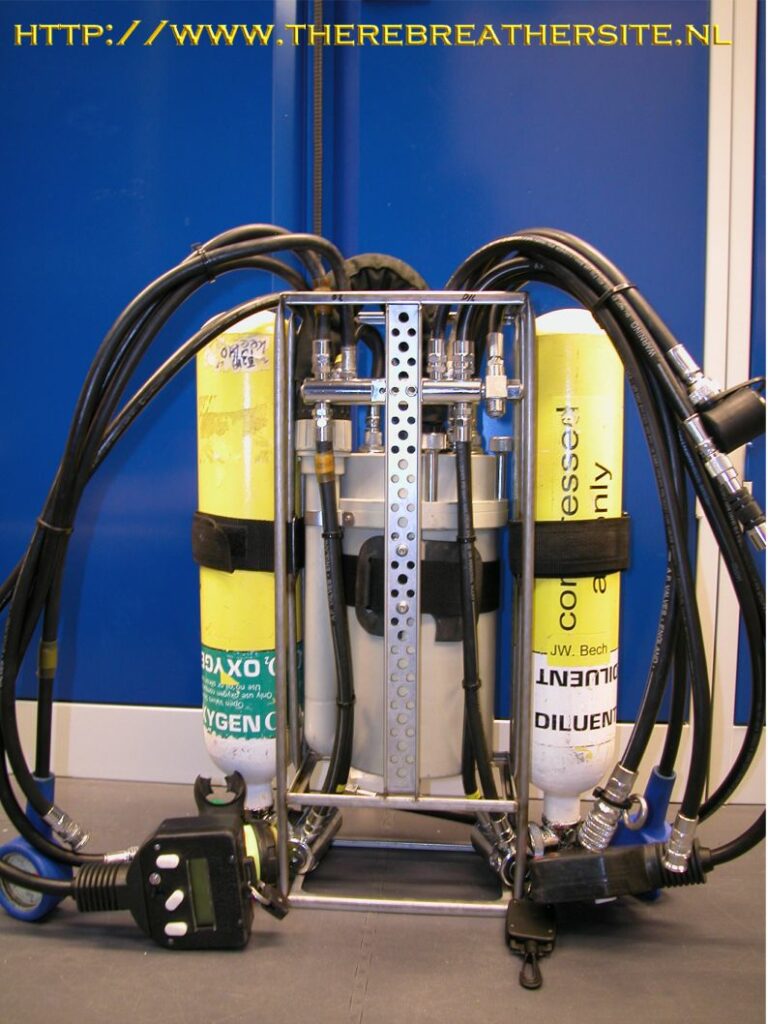
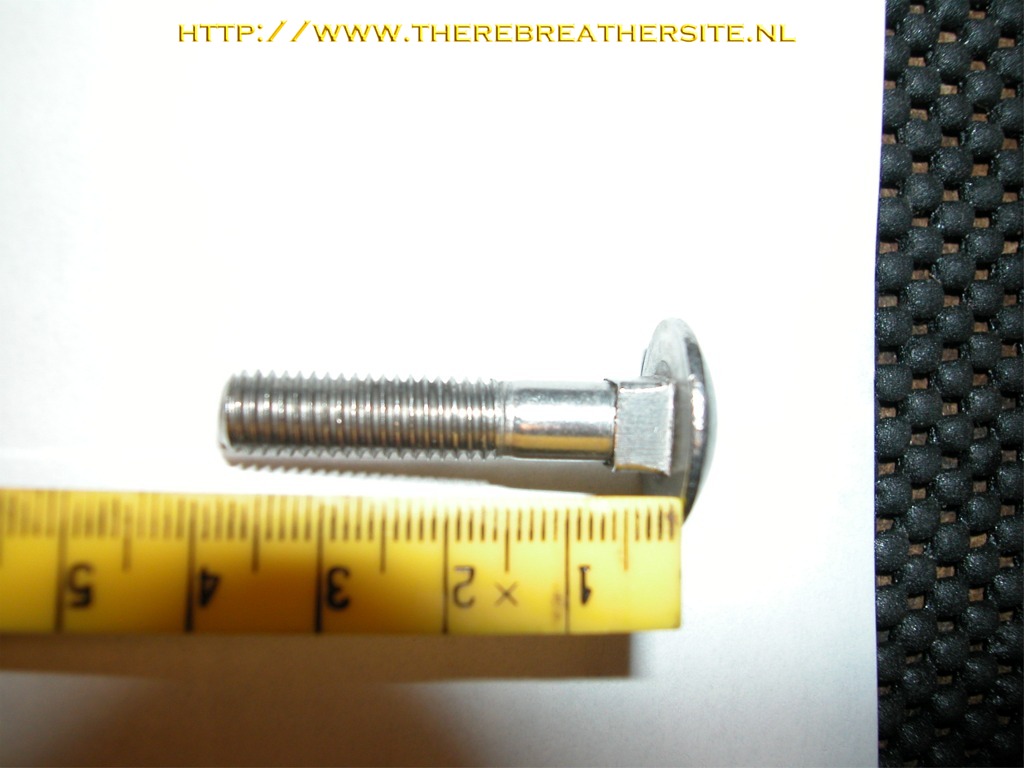
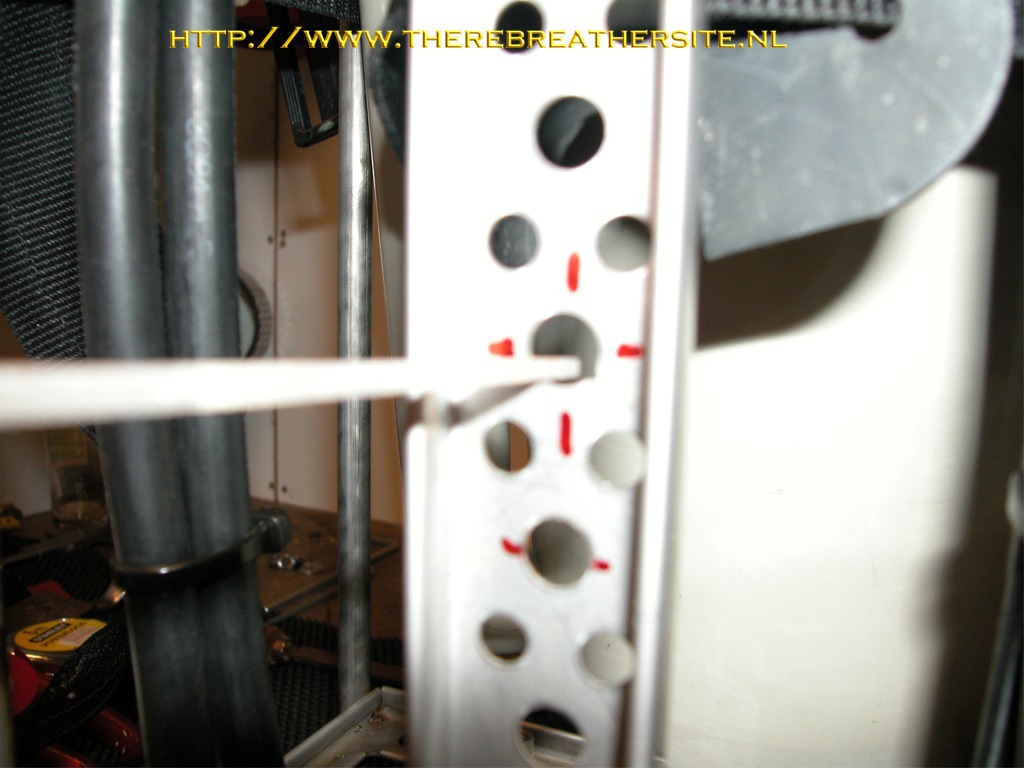
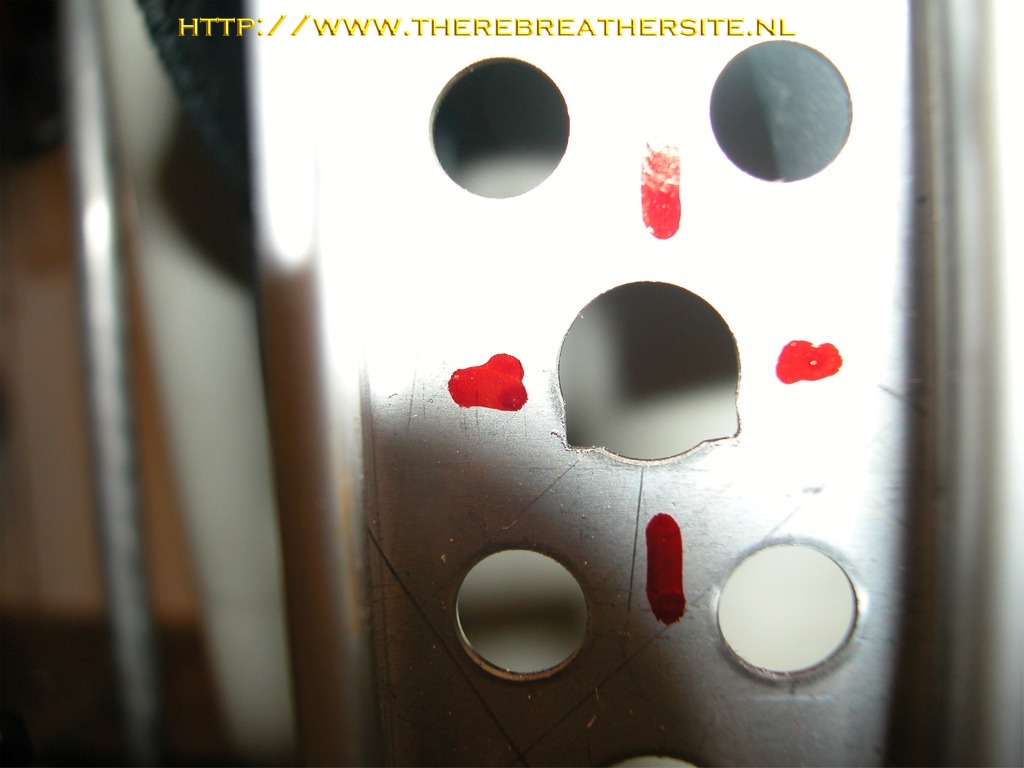
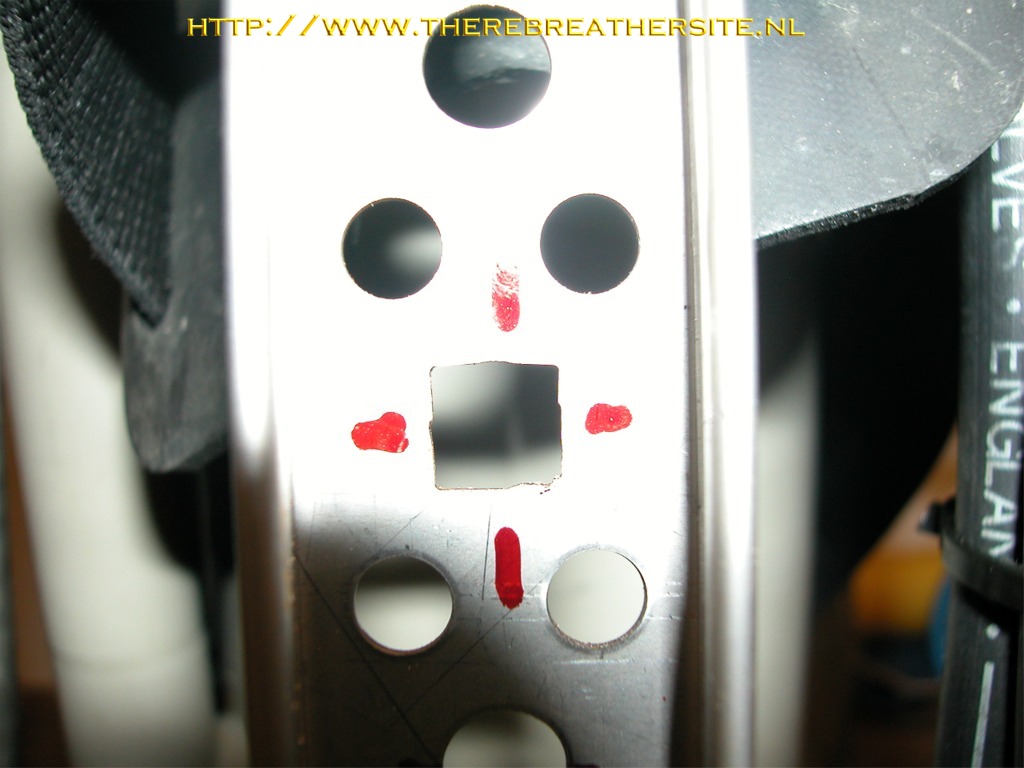
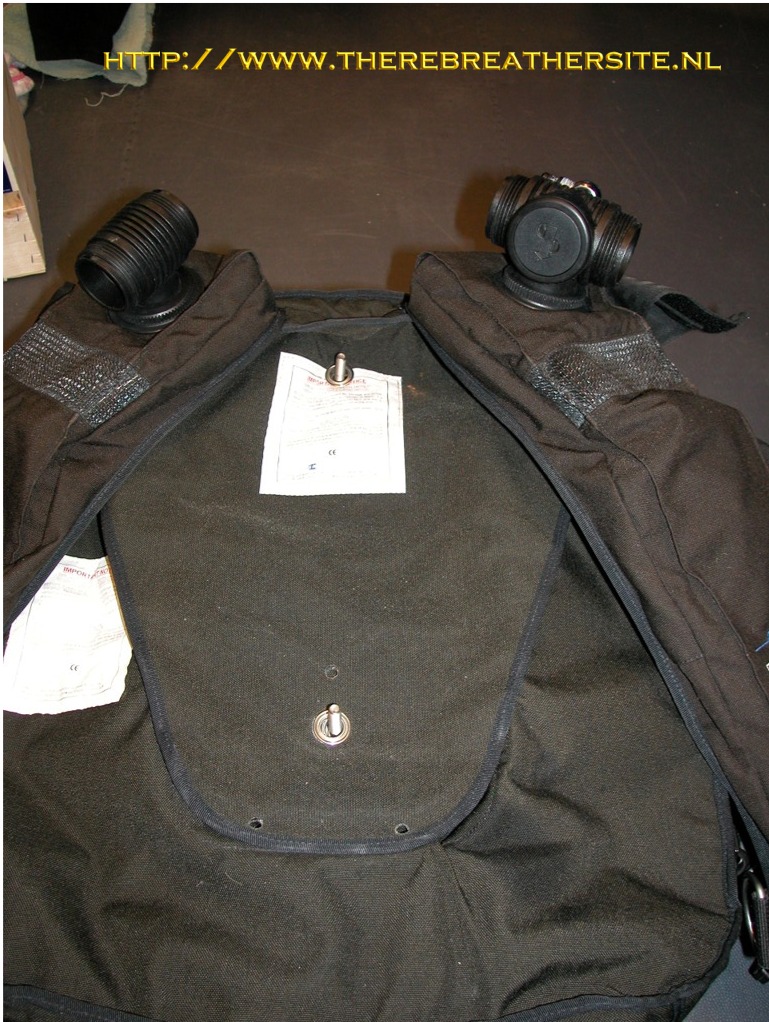
OK, this is an experiment. I received a model for a new distribution bar and tried to use it for my Travel Inspiration (Travi or travo 😉
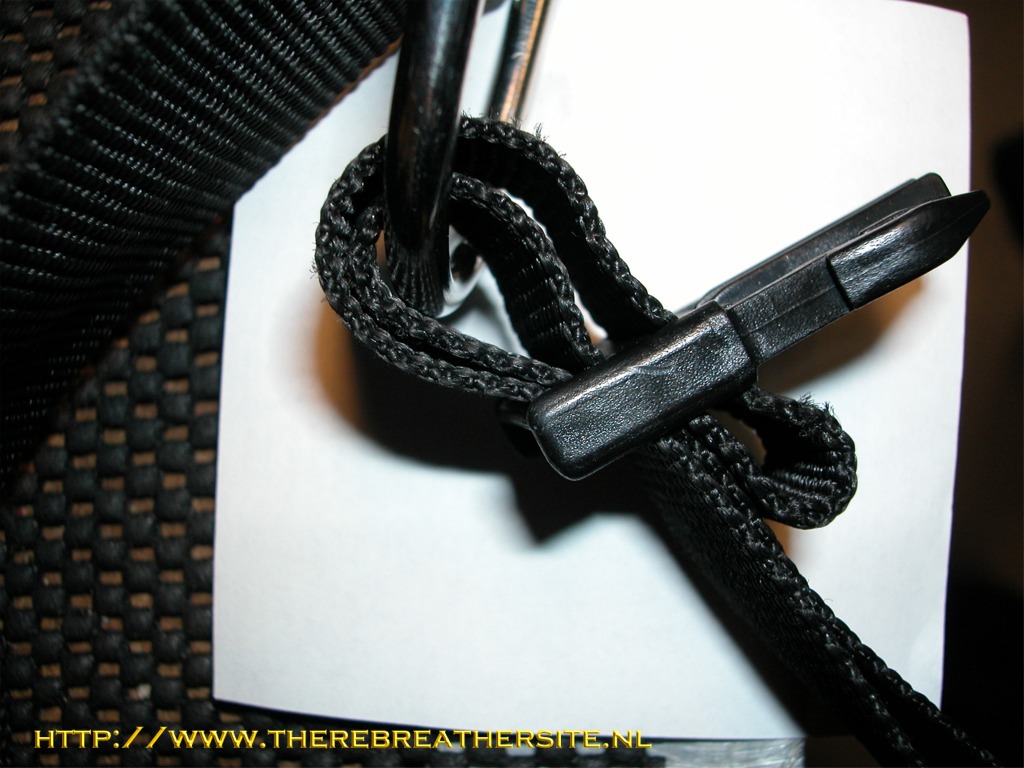
It did not fit properly but offered me a good planning of the final bar I want to use. The red tape is put over the oxygen feed of the solenoid to prohibit contamination.
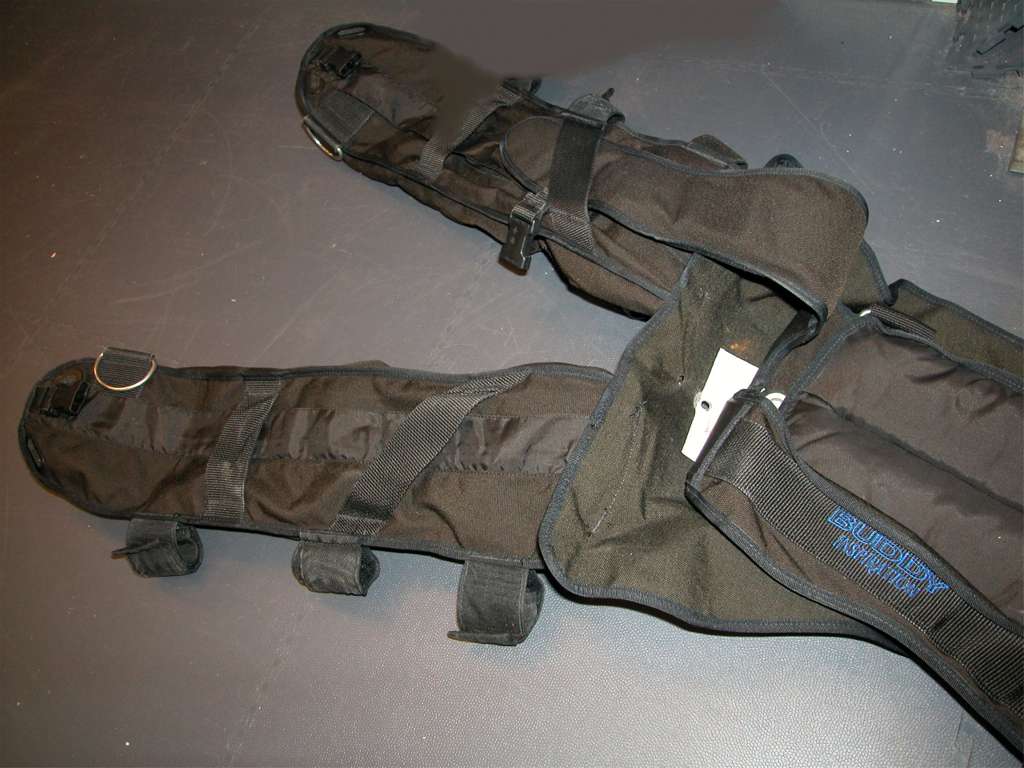
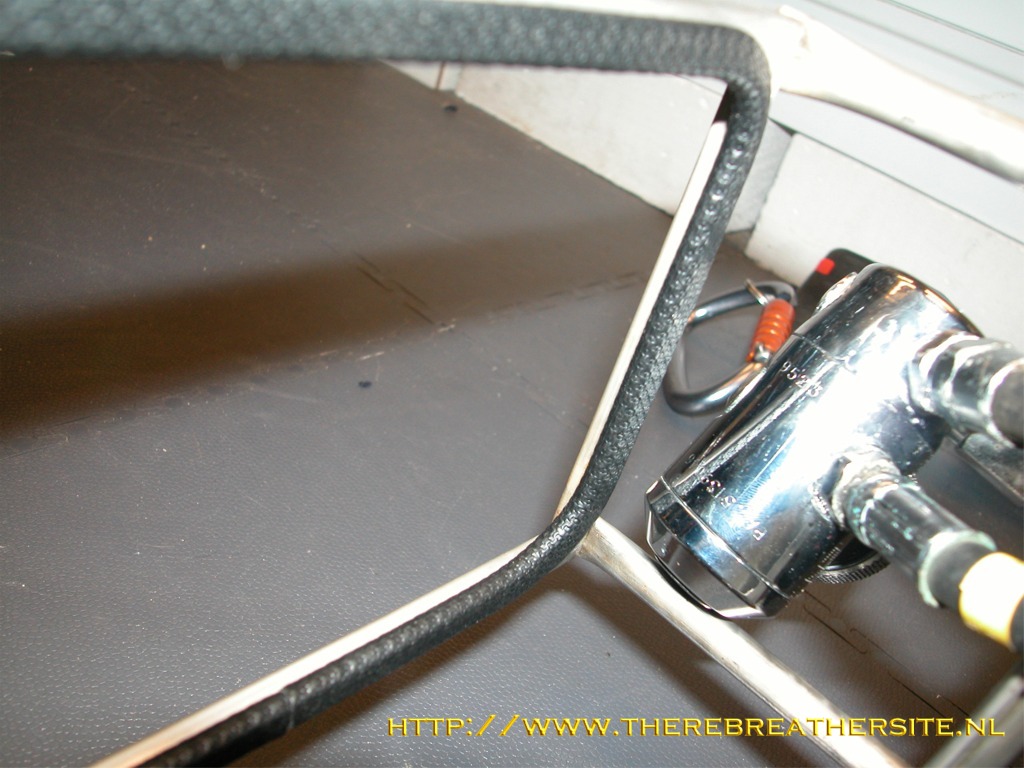
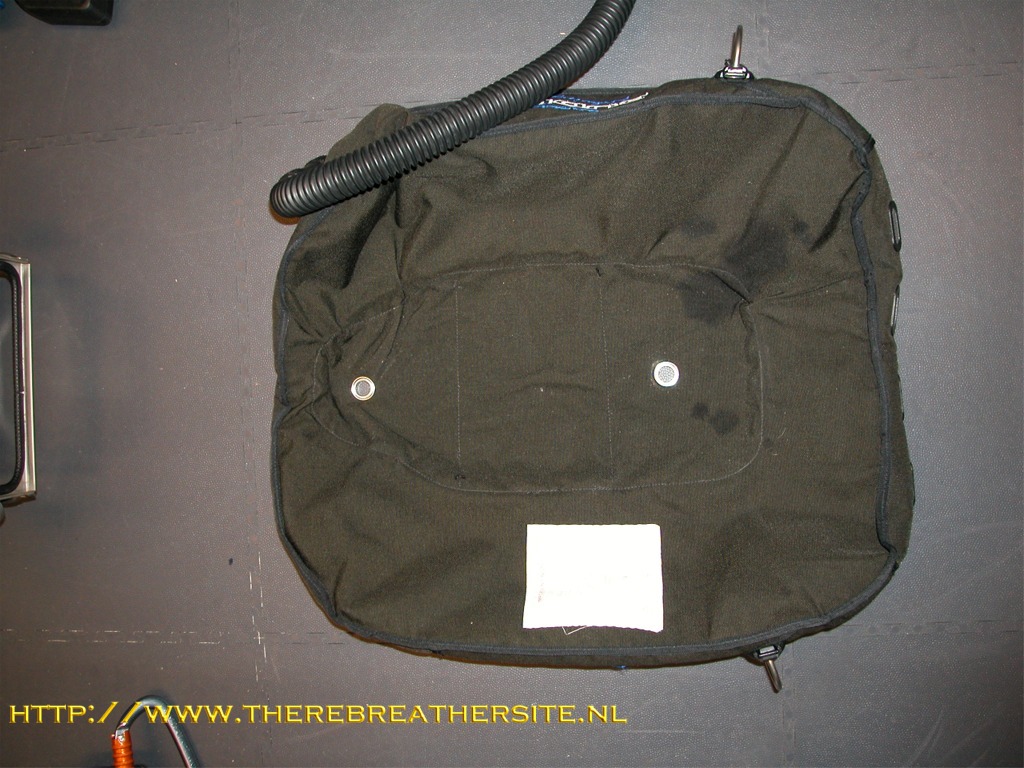
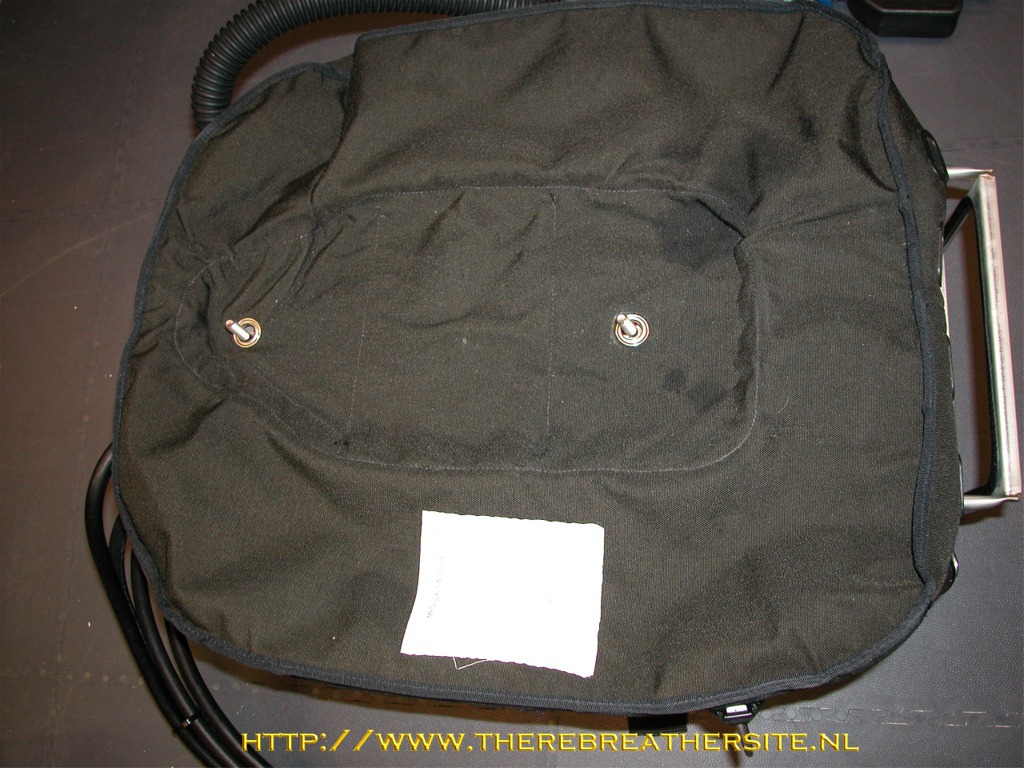
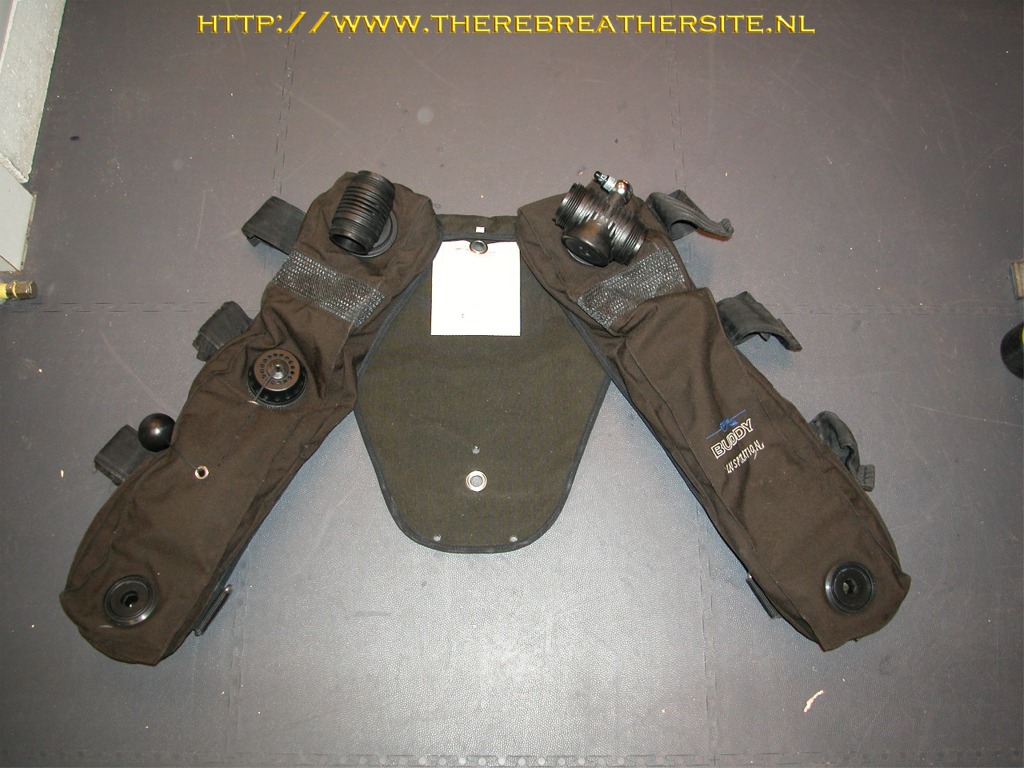
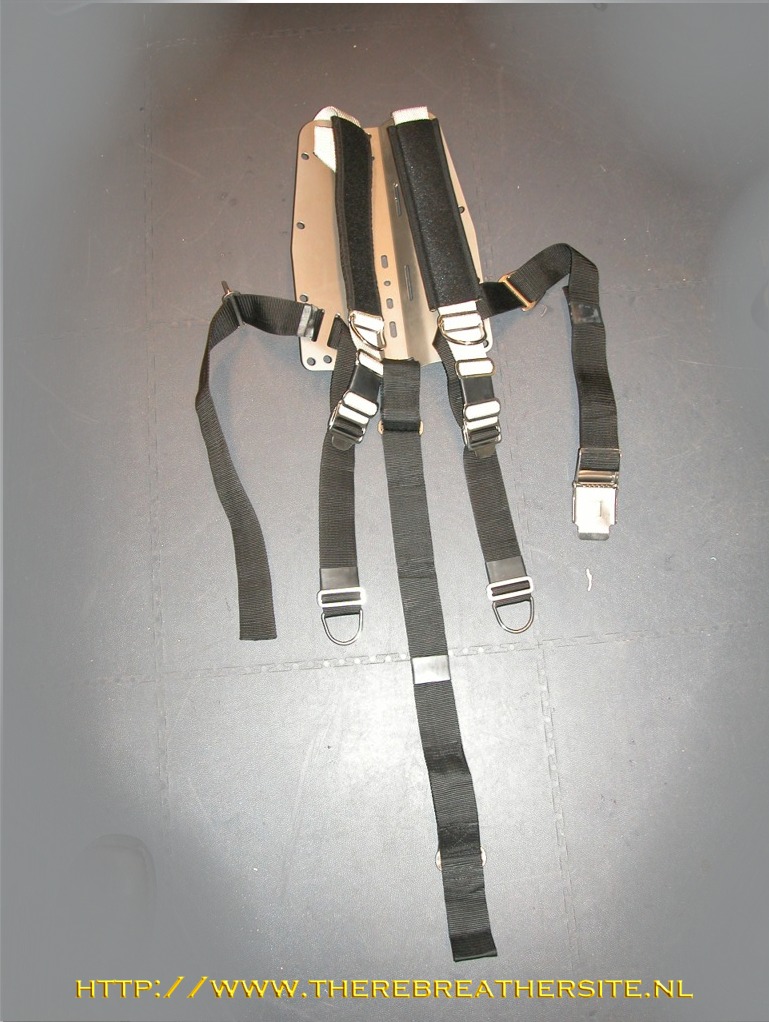
This is the amazing story. The wings. They are constructed very very careful. Note that there are many factors which have an important role in this counter lung design, for instance the size, the materials, the dimensions, the position and many more factors. I first want to start with the original Inspiration CL to experience how they perform on this frame. Back or front mounted CL’s are a next step….
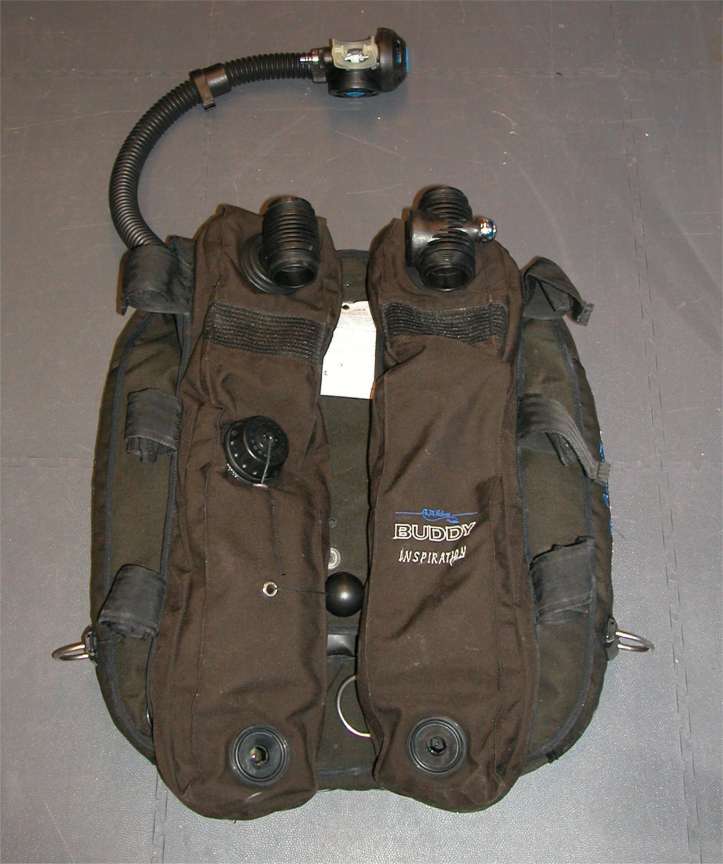
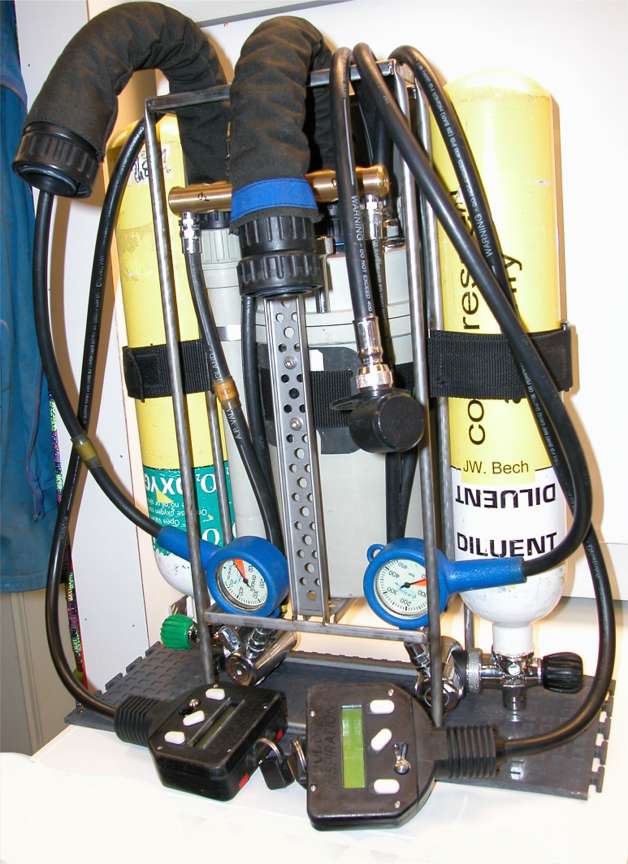
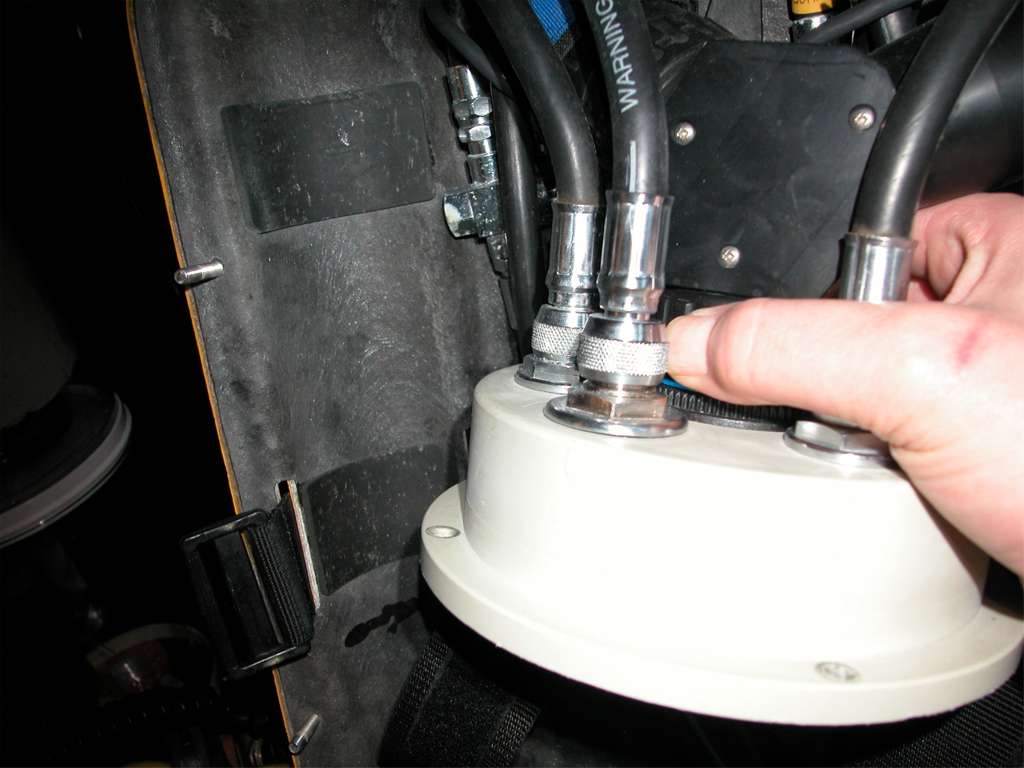
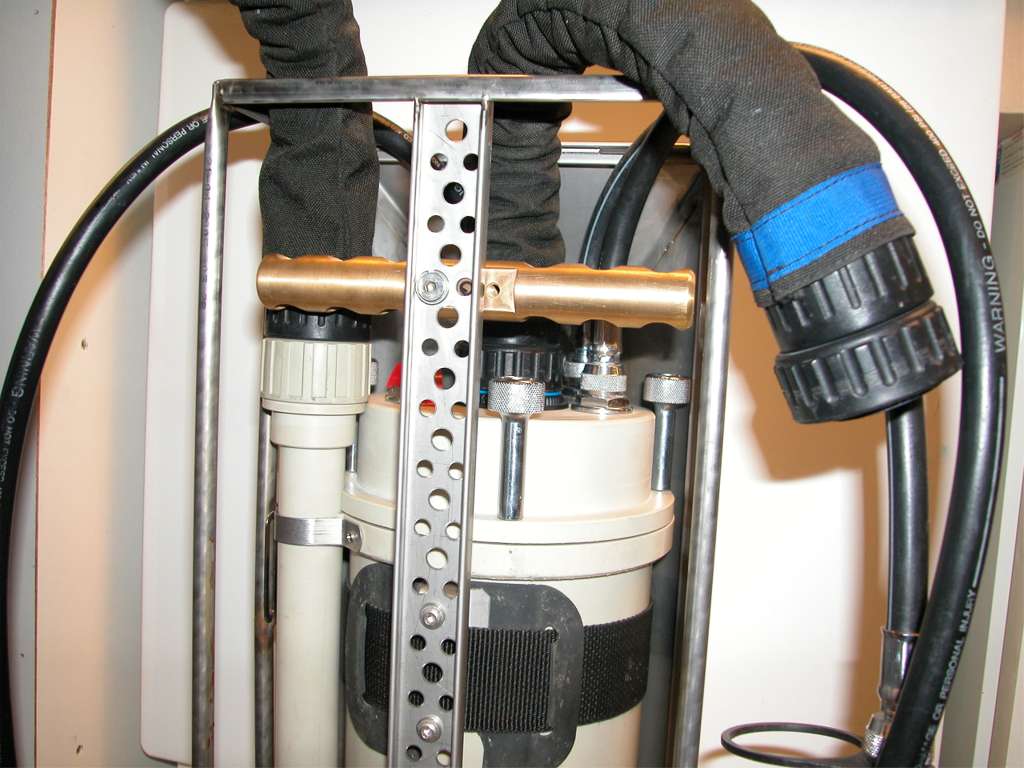
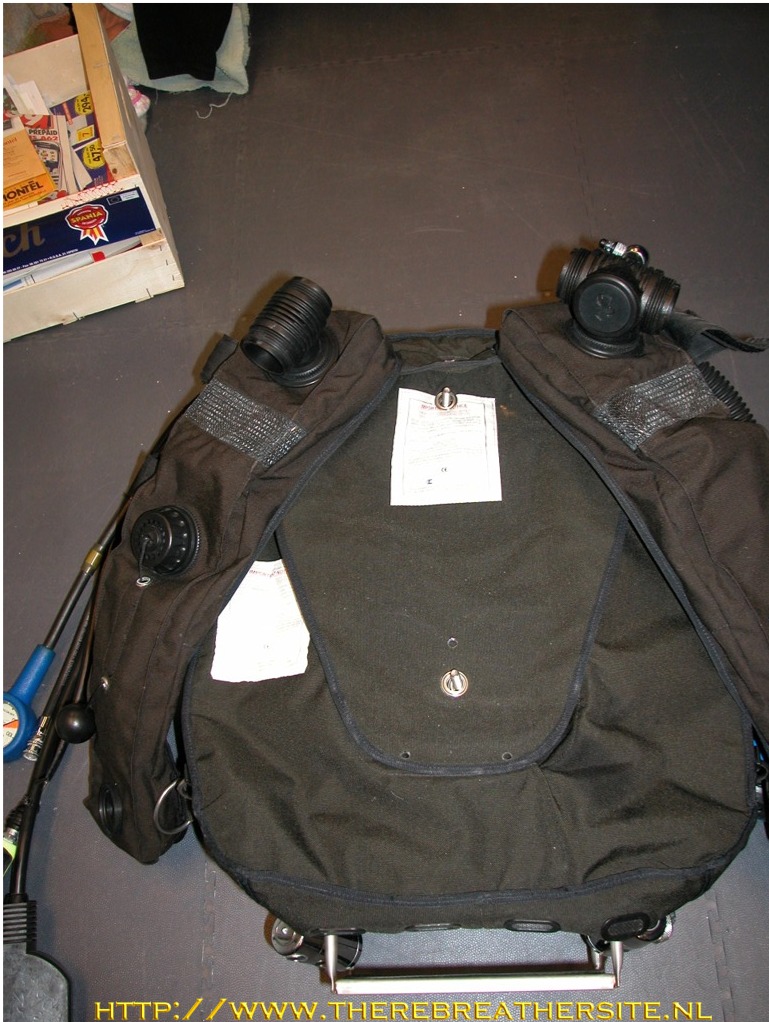
Here you see the final result of the rebuilding. I have changed the distribution bar and still studying the CL concept.
During the rebuild please mark all O2 and Diluent parts. Don’t think you can’t make a mistake. This frame is a very nice self-study object to test your material knowledge. Also replace all O-rings and use oxygen compatible grease. The unit should be rebuilt in oxygen service for all high pressure components!
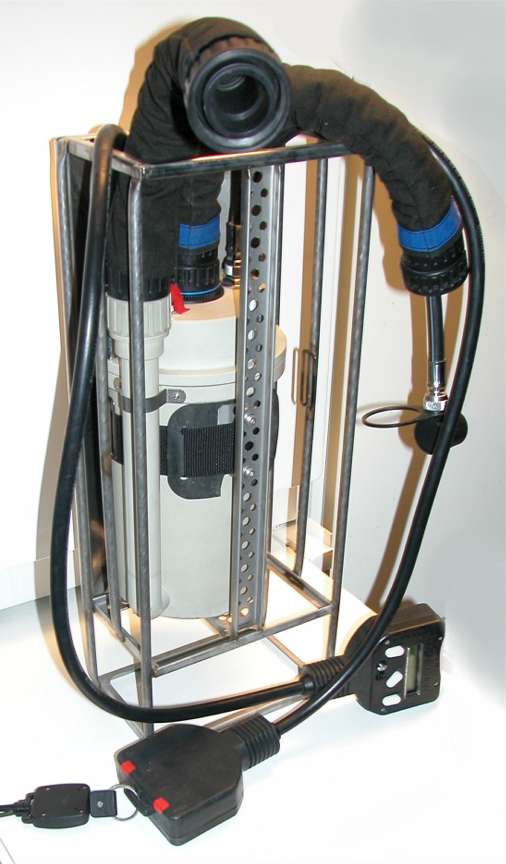
OK. after finishing the nice part, now the more difficult parts appeared. The wing, the lungs, the final touch of using the frame in the right way. Some of my diving friends asked me why I changed my standard gear to the travel frame.. The weight will almost be the same… What is the advantage? I think you need to follow the next steps to find out. My first impression is that the unit compared to my (very) old unit is lighter and more flexible. I am very pleased that the unit is more easy to strap on and dives like….. 😉 fantastic.. check this out
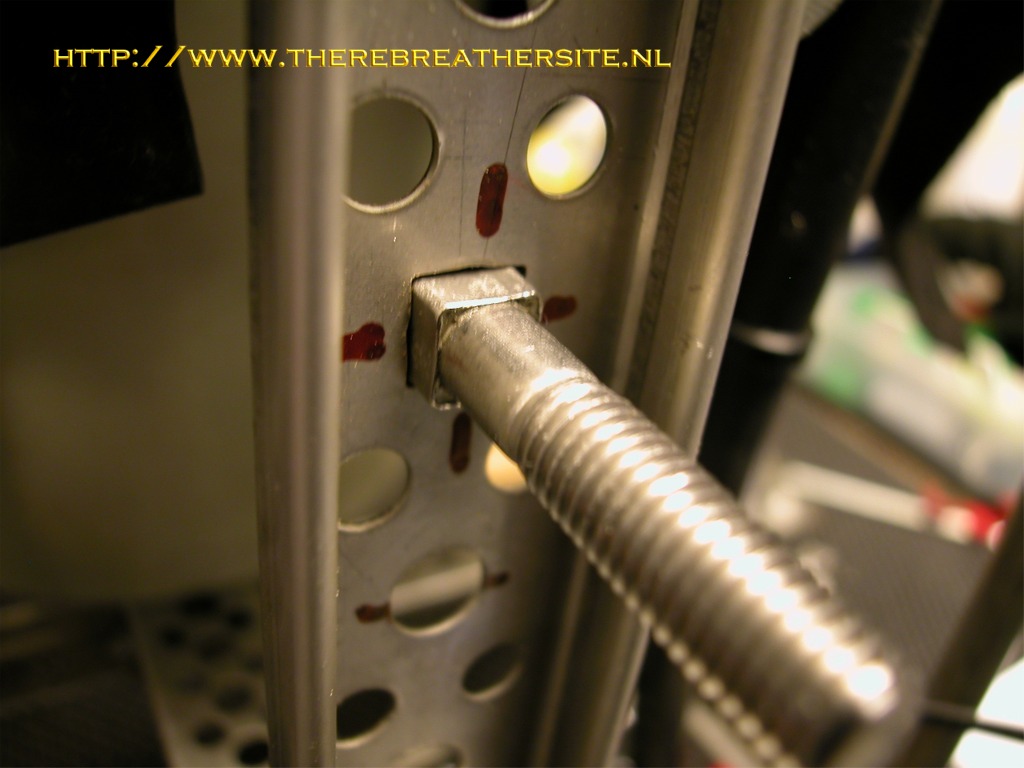
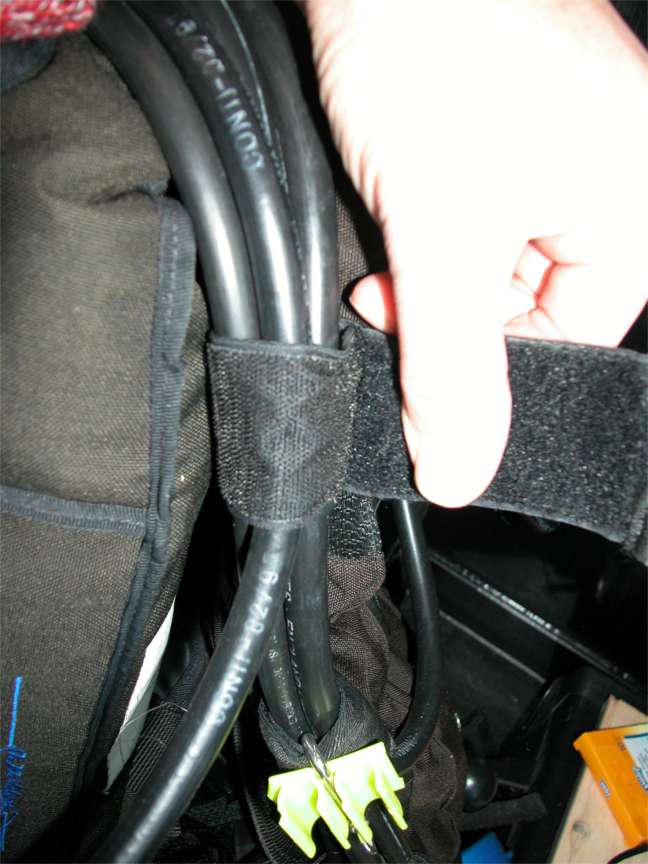
I have added some protection strip in the unit to prevent cutting when opening the valves. I have written to the manufacturers to fold this part of the frame to. I really dislike sharp edges…
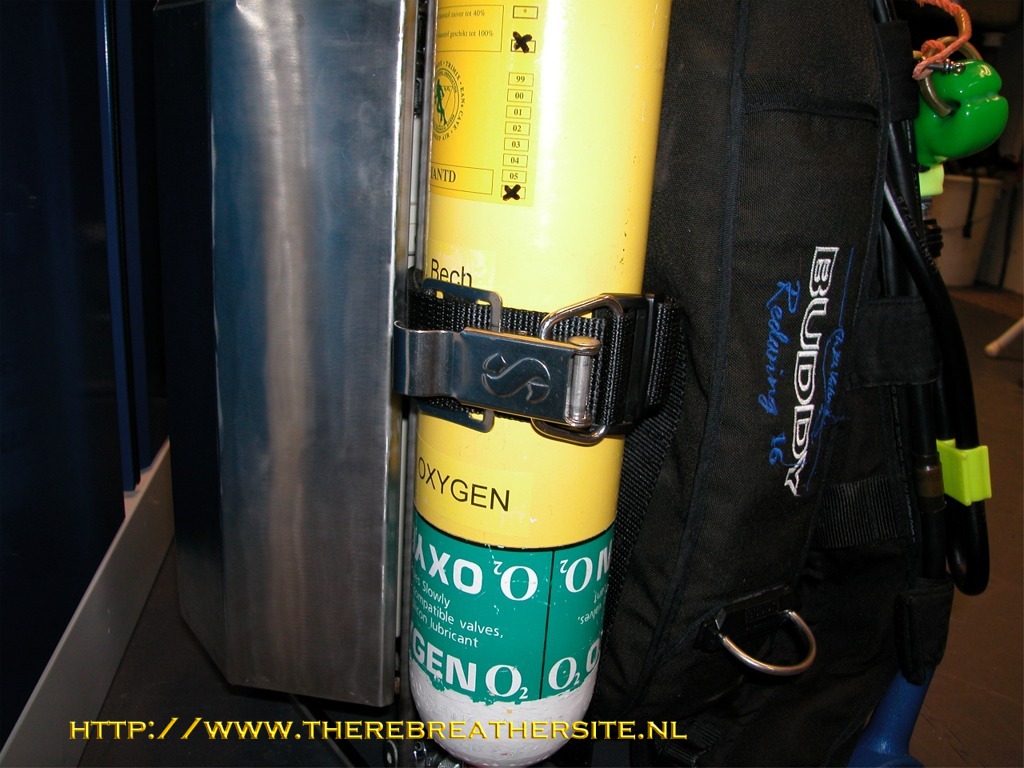
To achieve the main purpose of the travelframe I have bought Scubapro belts to fasten the bottles. It is possible to fix a wide range of bottles with this top material.
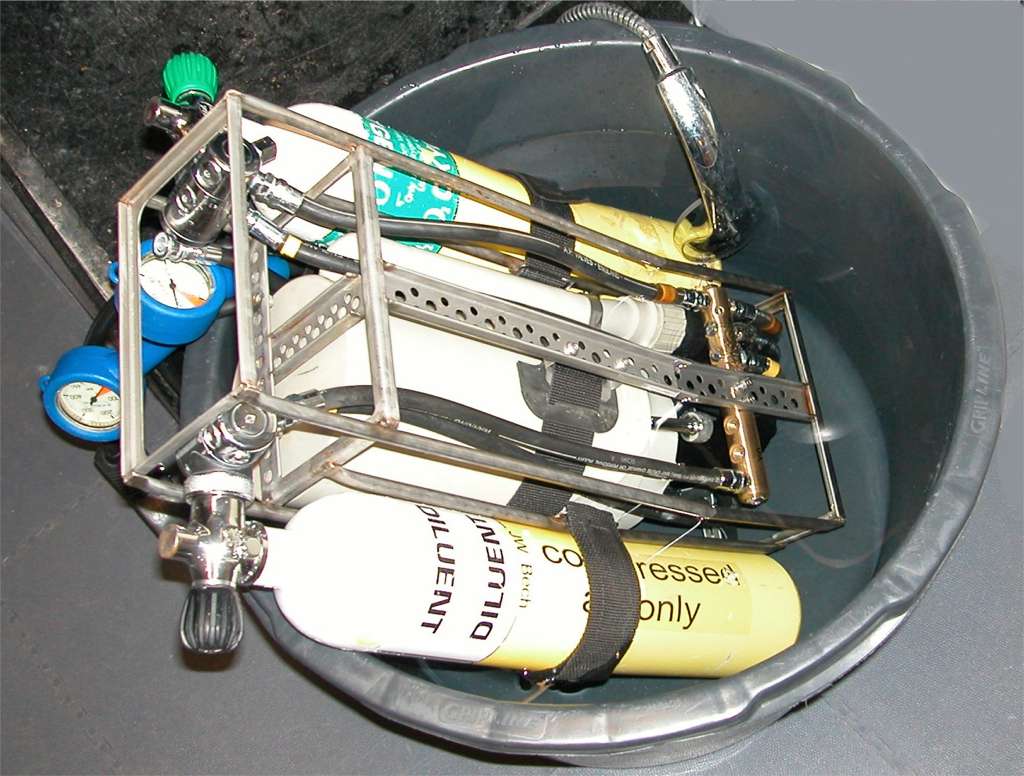
Yesterday I have been diving the unit. I am very happy to tell you that the unit dives like a dream. I just need to add 2-3 kg weigh on my waist while diving a semi closed neoprene suit. I think this configuration is much better for me 😉 I will keep you informed when returning from the southern Egypt trip…

Therebreathersite was founded by Jan Willem Bech in 1999. After a diving career of many years, he decided to start technical diving in 1999. He immediately noticed that at that time there was almost no website that contained the history of closed breathing systems. The start for the website led to a huge collection that offered about 1,300 pages of information until 2019. In 2019, a fresh start was made with the website now freely available online for everyone. Therebreathersite is a source of information for divers, researchers, technicians and students. I hope you enjoy browsing the content!