I created this page to solve a tricky mouthpiece problem. However, it is very important to realise that the actions described here can lead to an unusable leaking mouthpiece.
I see the heavy twisting of the mouthpiece as a serious safety hazard of the Inspiration. If YOU do not have any experience with surface treatments or doubt the effectiveness of the procedure, I recommend presenting the mouthpiece to Ambient Pressure Diving for a service turn.
The problem with the Inspiration’s mouthpiece is basically the heavy rotation of the two main parts of the mouthpiece. The tolerance of these parts is so critical that heavy or light turning depends on many factors. The tolerance at which these parts are manufactured is very small. Generally, nominal diameters in an O-ring fit are within 10-thirds of millimetres. It is therefore very important to be extremely precise and only apply the procedure described below in a final stage!
Before the mouthpiece should be machined, I recommend the following actions:
phase 1) Clean and rinse very well, and test the O-ring for damage. In case of no result:
phase 2) Disassemble the mouthpiece, carefully clean, grease test. In case of no result:
phase 3) Replace and grease all O-rings, clean and test. In case of no result:
If it now appears that all actions do not eliminate the problem, it is best to send the mouthpiece to the factory. You can also perform a fourth phase, namely removing burrs and polishing the surface.
The phase is risky, and should be carried out very carefully!!!
Phase 4) Disassemble, deburr, sand the surface very finely, grease, test.
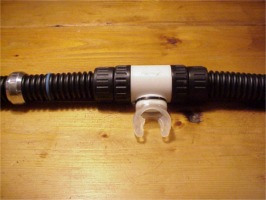
Put the mouthpiece and hose assembly on a dry and clean surface
Unscrew the two screws on the inner rings
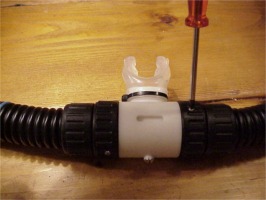
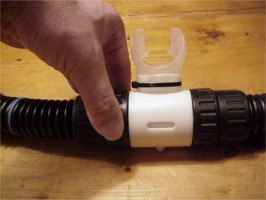
Unscrew the inner rings connecting the hoses with the mouthpiece
The rings are a part of the breathing hoses
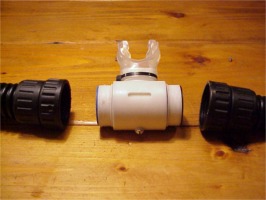
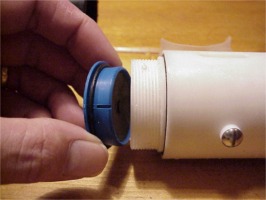
Take the valves out. The blue valve is on the inhalation site
Here you see both valves taken out
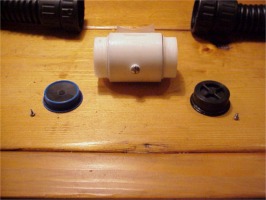
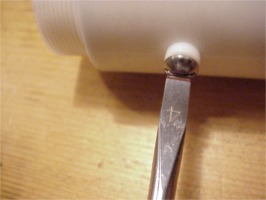
Unscrew the central locking screw
Gently press the outside down
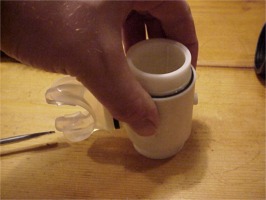
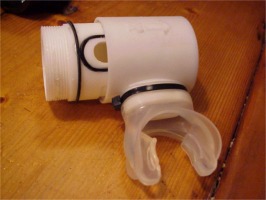
The inner part will slowly come out
Check the O-rings
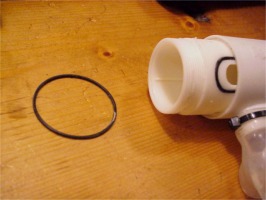
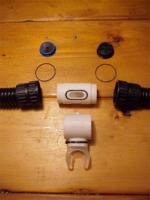
Here the mouthpiece is dismantled completely
Now use sanding paper in a grade 360 or 600 depending on the surface of the mouthpiece. Only use waterproof paper!
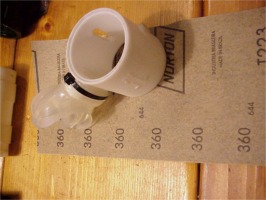
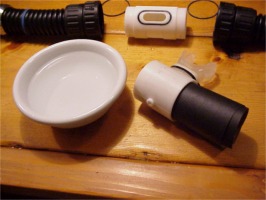
With the paper rolled to fit the inside, sand the surface very very carefully until is looks smooth
Now I use my favourite dental tool again to debur to O-ring groove in the mouthpiece
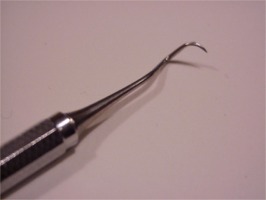
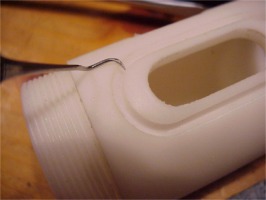
Deburring the mouthpiece will enable a smooth rotation
Here you see the finished part
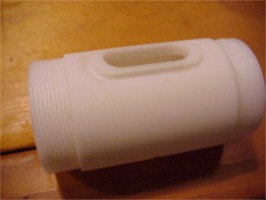
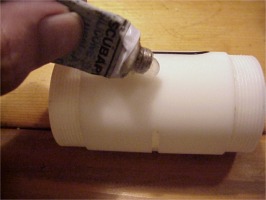
Now ad a little grease. I use silicone based grease. I tried oxygen compatible grease first, but it didn’t work….
Carefully reassemble the inner part
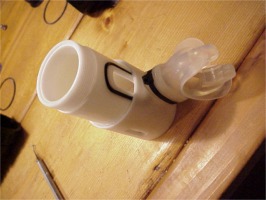
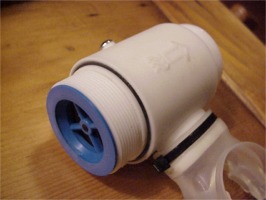
Check valves for the correct mounting (gasflow direction)
Exhale side
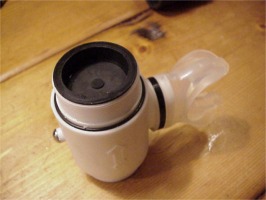
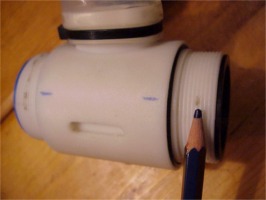
Now mark the two imprints of the screws on the outside of the housing.
Please read extra info at the end of this page!
Turn the rings until the countersinks are in line with the markings on the housing, and replace the screws. All done and ready !
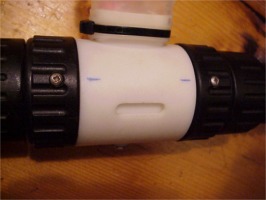
Special note I received from Martin Parker
Every mouthpiece we get back where the user claims it is too tight – we notice it has been taken apart and then re-assembled screwing the two hose connectors on too tightly. They should line the hole in the ring up with the old screw hole in the mouthpiece tube. Instead they over tighten and go passed this point – tightening up the whole mechanism.
Mouthpiece Design
Author: Bruce Leinen
Here's a tip from a Dentist concerning jaw ache and fatigue. Try this.Close your mouth in it’s most-closed, normal position. Your back teeth should be in full contact. Now let your jaw open by relaxing, just let the lower jaw drop down, so it opens slightly in a hinged fashion, without forcing it. It should feel real comfortable, like it found an equilibrium point. There should now be a small space between the upper and lower teeth. The distance between the upper and lower teeth is call “Freeway Space.” Any opening beyond this can put some strain on the muscles and ligaments. So any mouthpiece that opens your jaw beyond this, can potentially be a problem. But if the mouthpiece design lets you close to normal “Freeway Space,” it may be restricting the airway and increase work of breathing. I for one have faith that Martin and the Factory have done their homework, and designed the mouthpiece for safety first concerning work of breathing. However, it will probably force your jaw open somewhat beyond “Freeway Space.” That’s the price you pay for safety, and I’ll gladly pay it.
A bigger problem could be how you hold the mouthpiece. Now, from that relaxed position above, move your lower jaw forward. The more you move it forward, the more you will feel a “pull” in front of the lower part of your ears. This front-back strain will be much worse than the up-down opening strain, so it’s to be avoided where possible. Mouthpieces have bite tabs that hold your jaws open a designed minimum amount so you don’t restrict the airway by over closing. But when biting down they tend to reposition your lower jaw somewhat forward, potentially increasing muscle and ligament strain. So my advice is to not bite down on the tabs with a death grip. Let your lips hold the mouthpiece in place, your jaw finding it’s most comfortable backward-forward position, and bite lightly on the tabs. Hope this helps.
Bruce

Therebreathersite was founded by Jan Willem Bech in 1999. After a diving career of many years, he decided to start technical diving in 1999. He immediately noticed that at that time there was almost no website that contained the history of closed breathing systems. The start for the website led to a huge collection that offered about 1,300 pages of information until 2019. In 2019, a fresh start was made with the website now freely available online for everyone. Therebreathersite is a source of information for divers, researchers, technicians and students. I hope you enjoy browsing the content!
