Pratical tips how to arrange the hoses of the classic
The classic Inspiration is equipped with a set of hoses that loop left and right on the outside of the counterlungs. As soon as you add additional regulators for oxygen and or diluent, a desire arises to configure the hoses and handsets in a convenient way. Even now with the more modern variants of the Inspiration, this need remains. Hence this page which may offer tips and ideas.
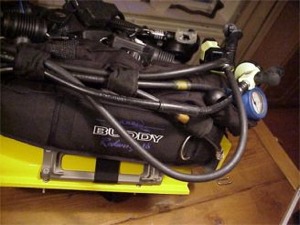
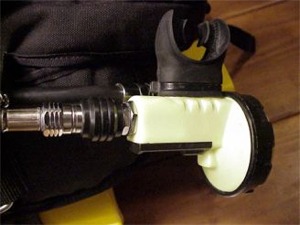
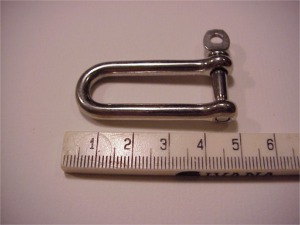
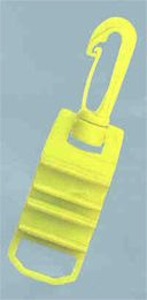
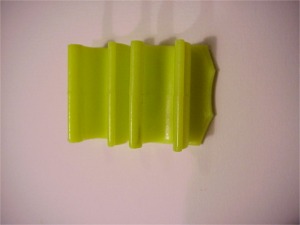
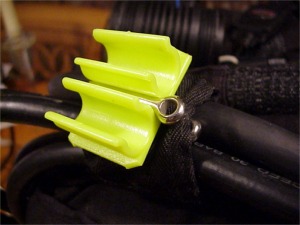
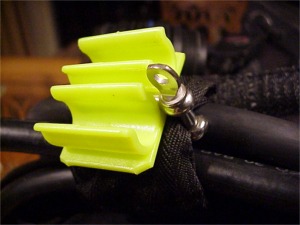
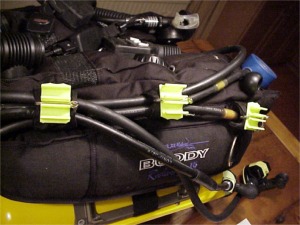
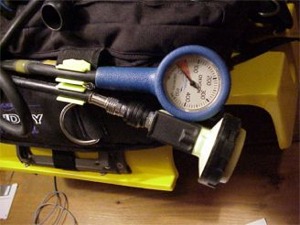
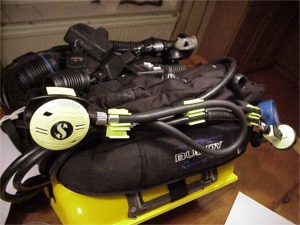
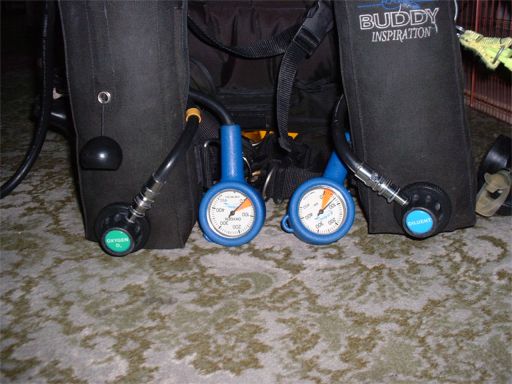
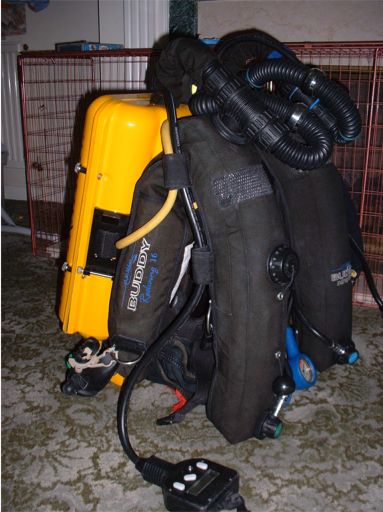
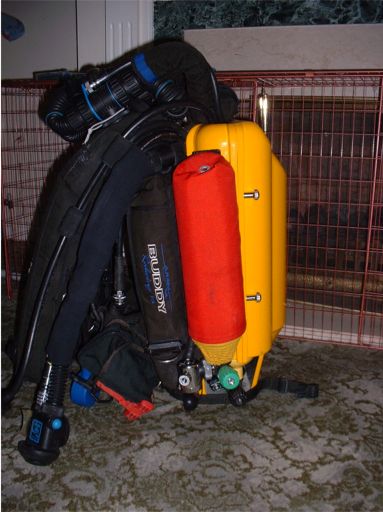
This is the right site of my RB. You can see why I need to arrange things a little bit. Diluent regulator – Oxygen regulator – Pressure Gauge- Oxygen inflator hose – Right Handset hose, so 5 hoses located on my left. My solution is of course very personal.A small extra detail. Here you see the shut off valve of the oxygen regulator.First of all you need a few 2″ long shacklesAnd a few of these clips, sold for clipping on the spare (octopus) regulatorhoseCut off all extra plastic until something like this is left. Smooth the edges if you don’t want to be cut.Fit the shackle through the velcro on the contralongThis way it will fit your set without damaging anything Mounted hose holderfit three of these you will be able to arrange a hosesPressure gauge and Oxygen regulator are now comfortably mounted and can be found without searchingI have the second diluent Regulator (first is the auto air) on my right shoulder.So now I have 3 OC regulators, two with diluent and one with oxygen.Gauge and manual feed hoses exit from inside edge of the couterlungs, leaving nothing to get hung up. Hoses pass between the harness and the counterlungs.Only the right hand side handset remains in the original position, the O2 bailout regulator is clipped off to the D ring on the BC, with the hose stuffed behind the BC and harness, just pull to deploy. The torch bracket can be seen here.Only the left hand side handset remains in the original position. The direct feed and AutoAir are sleeve with neoprene to reduce the risk of handups, they are cliipped off when not in use. The Argon cylinder is in the cut down pony bag which works well and saves drilling the case to accept a bracket. In the centre of the picture you can see the drysuit hose connector which comes from the Argon cylinder regulator, passes up behind the cylinder, then over my shoulder, and then down to the drysuit connector between the counterlungs, this keeps it neat and out of the way.
I clip both handsets together in the water, so that you can grab the clip and read both handsets with one hand. they can be clipped to a crotch strap D ring with a retractable lanyard so they don’t hang down in the way. The gauges when pressurized sit up against your body, so do not get in the way either.
Therebreathersite was founded by Jan Willem Bech in 1999. After a diving career of many years, he decided to start technical diving in 1999. He immediately noticed that at that time there was almost no website that contained the history of closed breathing systems. The start for the website led to a huge collection that offered about 1,300 pages of information until 2019. In 2019, a fresh start was made with the website now freely available online for everyone. Therebreathersite is a source of information for divers, researchers, technicians and students. I hope you enjoy browsing the content!