
Avery build a smart oxygenrebreather. He explains in detail:
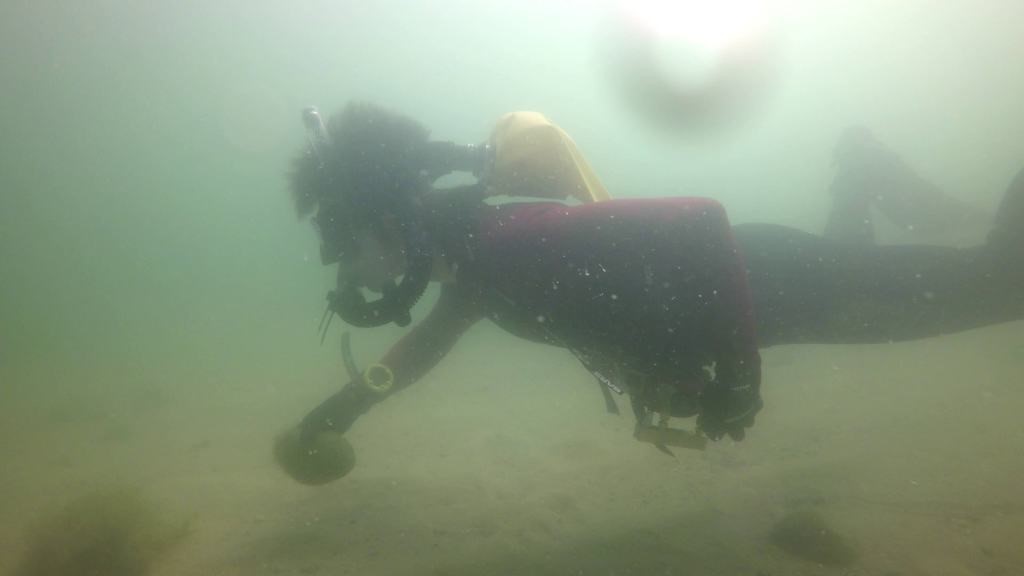
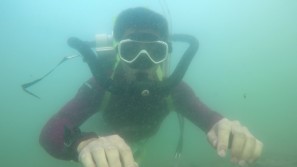
Holding onto the rock of great buoyancy, in the Atlantic
After feeling a bit like a snail in a shell in my last rebreather, I decided I wanted to make something a lot smaller and more ergonomic. Hence the next generation of the rebreather being called the Nudibranch- Latin for “naked lung”. A suitable name for a design with a scrubber-in-lung and with the counterlung unenclosed in a shell.
IMPROVEMENTS OVER I3
I knew there were some features I wanted to keep from the previous revision, and some things that needed to be improved. The materials for example, all proved to be robust and appropriately resistant to chemicals. the manual add valve (MAV) functioned well, and the counterlungs were of a comfortable volume. Scrubber duration was adequate as well. However, there were some issues with i3:
- Bulky design
- Difficult to reach gas controls
- MAV hard to locate
- Low gas volume
- Assembly took too long
With a focus on simplifying the assembly, i4 looks and feels more like a simple rebreather rather than some kind of science project.
STREAMLINING/SHELL-LESS DESIGN
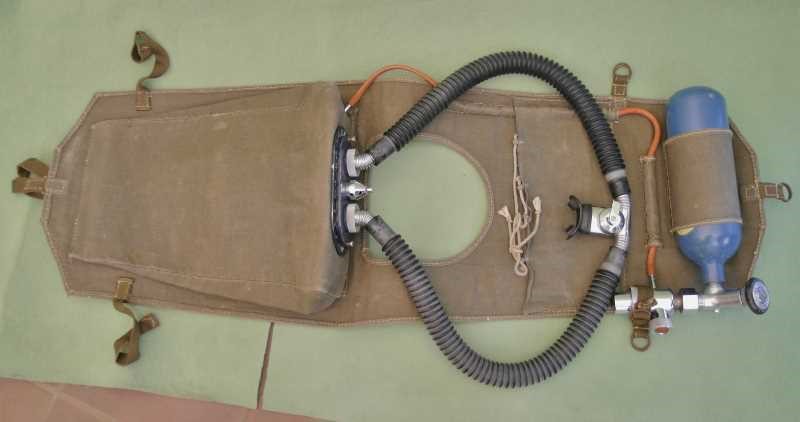
photo of a medi nixe from https://www.medi-leipzig.de, an excellent resource
The main inspiration for the new design was the Drager Model 138 rebreather. This model was famously used by Hans Hass in the Red Sea and later went on to be a “sport rebreather” diving system used for leisure, re-branded as the barrakuda or medi nixie. It turns out that it got a lot of things right.
One of the interesting aspects of the model 138 is that it is mostly cloth. When working at the scale of the human body, the cost of materials and the size of parts can add up quick. The last rebreather was encased in a large aluminum shell bolted to an 80/20 frame. This frame covered the gas cylinder, as well as two 8L couterlungs. Since the scale of these parts is cm, the small offsets to accommodate things like the counterung bulkheads or the gas addition fitting took a lot of room. Wrapping that all in aluminum made the shell quite bulky. comparing the two units above, you can see that i4 is much smaller.
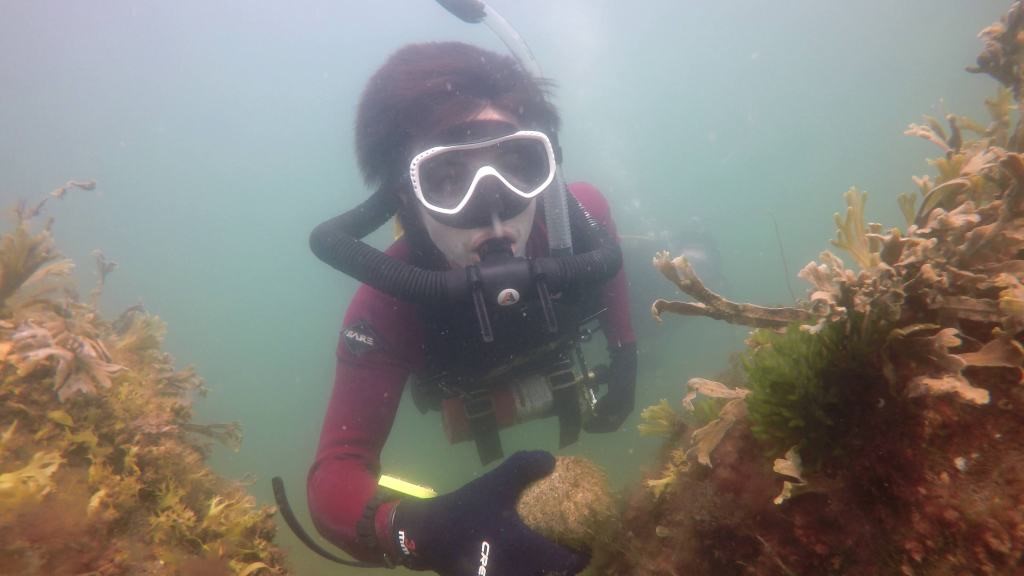
The breathing hose routing is a lot cleaner, since the hoses run over the shoulder instead of straight outwards. This means I need less hose length. In the future I hope to convert to 1.5″ diameter hoses that are ~6 in shorter, for lower work of breathing.
GAS VOLUME/VALVE ACCESS
The Model 138 also has front mounted gas, which means all the valves and controls are easily accessible to the diver. They also are not mounted on a whip/hose like on the i3. With the i3 it was possible to “loose” the MAV since it was not mounted to anything.
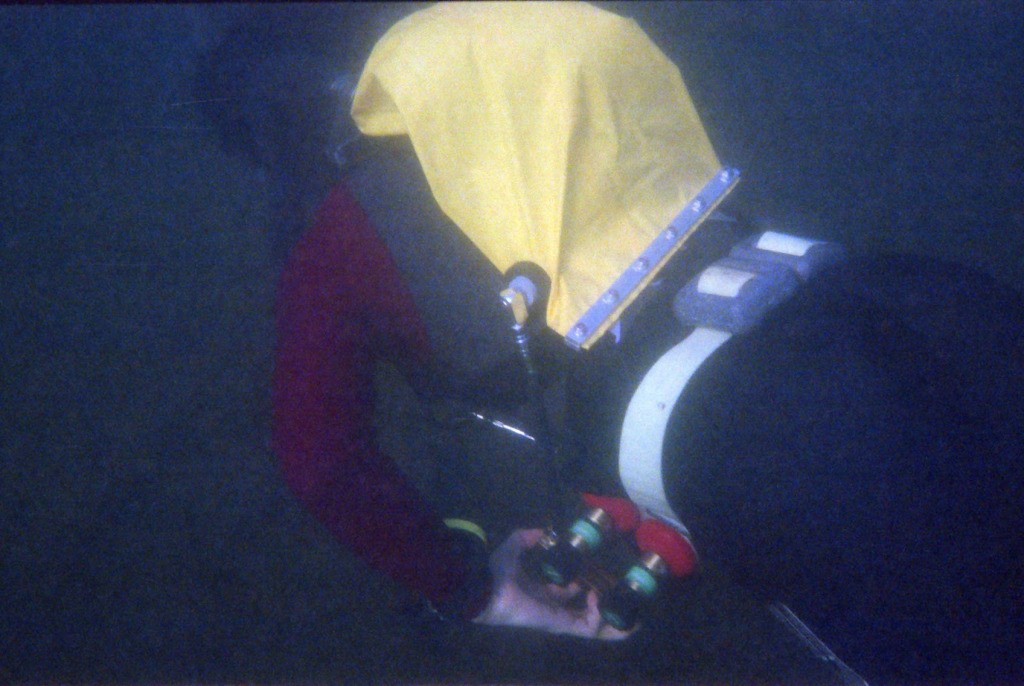
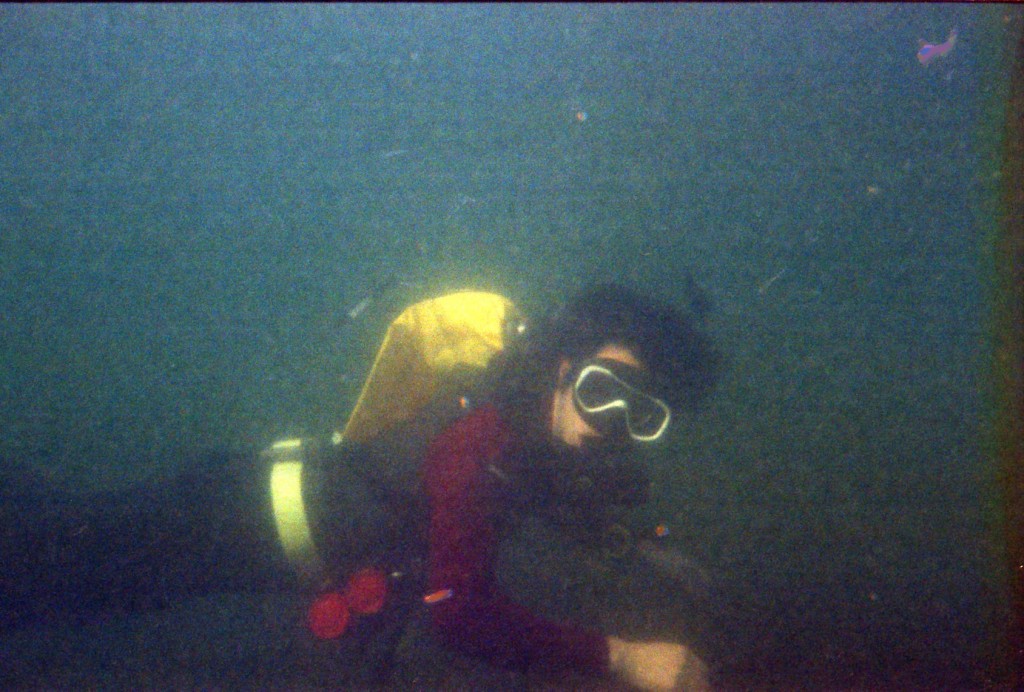
Swapping bottles/shutdown- Photo taken with a nikonos on 400 speed film
The i3 valve was accessible, but it was extremely challenging to reach and required flexibility. On the i4, the valve is in the front and stationary, and only requires one intermediate hose compared to the two for the i3.
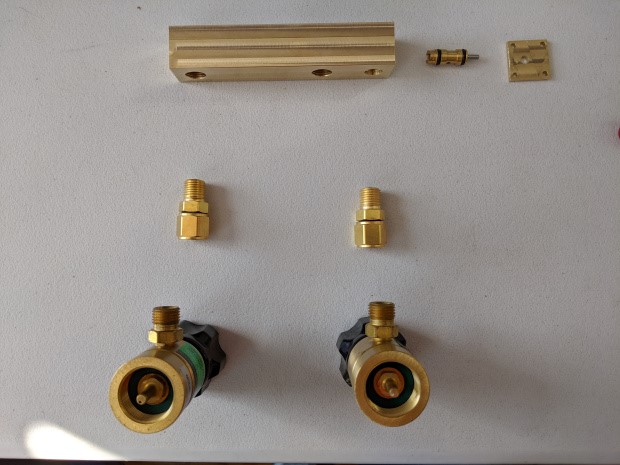
I knew from my previous design that I wanted a lot more gas so that I could stay underwater longer. I still haven’t figured out the best way to reliably get oxygen fills, so I stayed with the hardware store welding bottles, but I doubled up on them. More can be read about that here.
Ultimately, the only real issues I had with this design were MAV related. The gas regulators seem to restrict the flow far more than the old regulator, which makes the counterlung fill very slowly. It also seems like they cut off at a higher pressure, leaving a significant amount of gas left over in the tank. This makes buoyancy and breathing comfort a challenge, and limits range. However, twice as much gas is twice as good, and dives up to 45 minutes have been conducted without complete gas exhaustion.
COUNTERLUNG MATERIAL SELECTION AND DESIGN
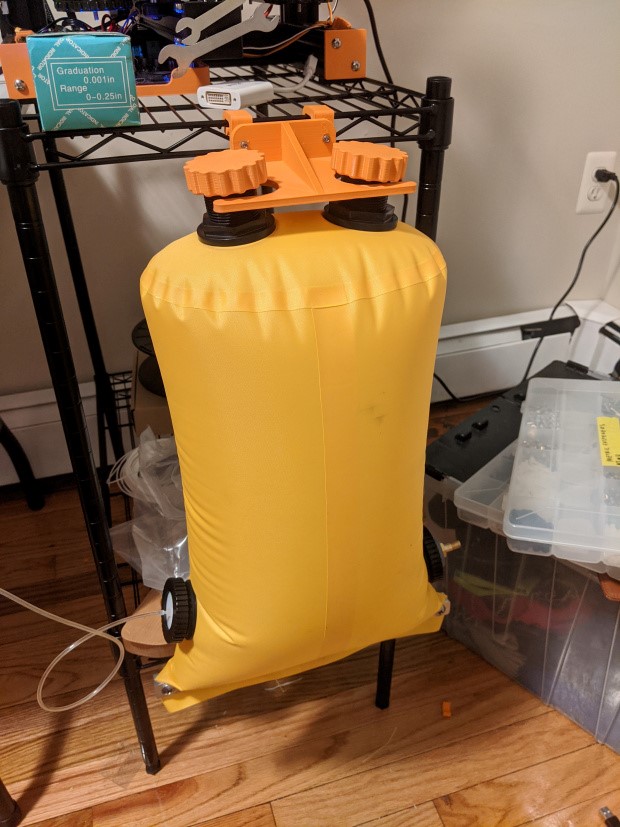
This is really the complicated part, and its particularly fraught since it is where all of the rebreather magic happens. The bag must be, relative to the demands of the dive (duration, pressure, volume of bag) completely watertight and made of a waterproof material. Some leak rate is permissible, but it has to be low. In order to capitalize on pre-existing materials and advanced technology, I decided to use a drybag. The other options are to sew a bag and seal it, heat seal a bag, or sew and completely impregnate a bag with silicone.
SEALING THE END OF THE BAG
Since I managed to find an appropriately sized drybag, I ended up just buying one. Testing of several bags revealed that the stock roll-top seals of dry bags are inadequate. Specifically, the way that most of them close is by clipping the ends together and rolling them shut. While this is fine for splashes or even putting it on top of water, submerging the bag will squeeze the air out of the wrinkles created by bending the rolled up seal.
Without bending the seal, it is possible to get good enough contact between the two sides of the bag that it will form an airtight seal. However, the particular bag I chose had stiff mounting points for the buckles- these interfered with collapsing the seal in that area, and provided a leak path. Absolutely fine for a drybag, but not good enough for a counterlung.
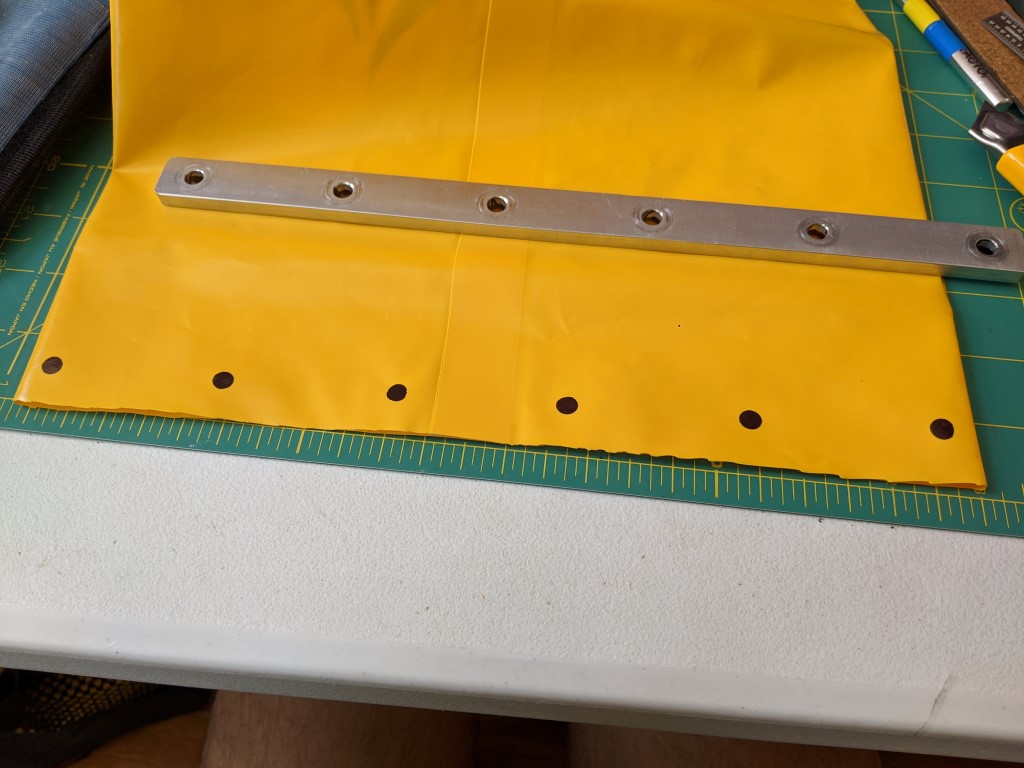
By removing the stiffener and making some aluminum clamps, I was able to seal the bag well enough. I flipped the bag inside out so the smooth urethane coating was on the inside of the bag, instead of the textured nylon surface. Additionally, it is important that the bag material was very thin so the seam in the material does not disrupt the seal.
This is really a dream for scrubber access and drying since the whole lung can be rinsed and turned inside out to dry.
MAKING HOLES IN THE BAG
I knew there would need to be at least 3 penetrations into the bag- inhale, exhale, and gas add, in addition to the large hole in the bottom. all of these of course, are leak paths!
The inhale and exhale penetrations are sealed with these (put link here) handy PVC bulkhead fittings, which conveniently fit a piece of 3/4″ pipe stub on one end to attach the breathing hose. Instead of the stock gasket, I used an oring and a retaining groove. The gaskets that were provided may have worked, but I wanted to be sure that I could get good contact along the whole circumference. The provided gaskets had a rectangular cross section and were hard- requiring a lot of force to seal. The replacement orings are soft, have a reduced cross section, and a much finer surface finish.
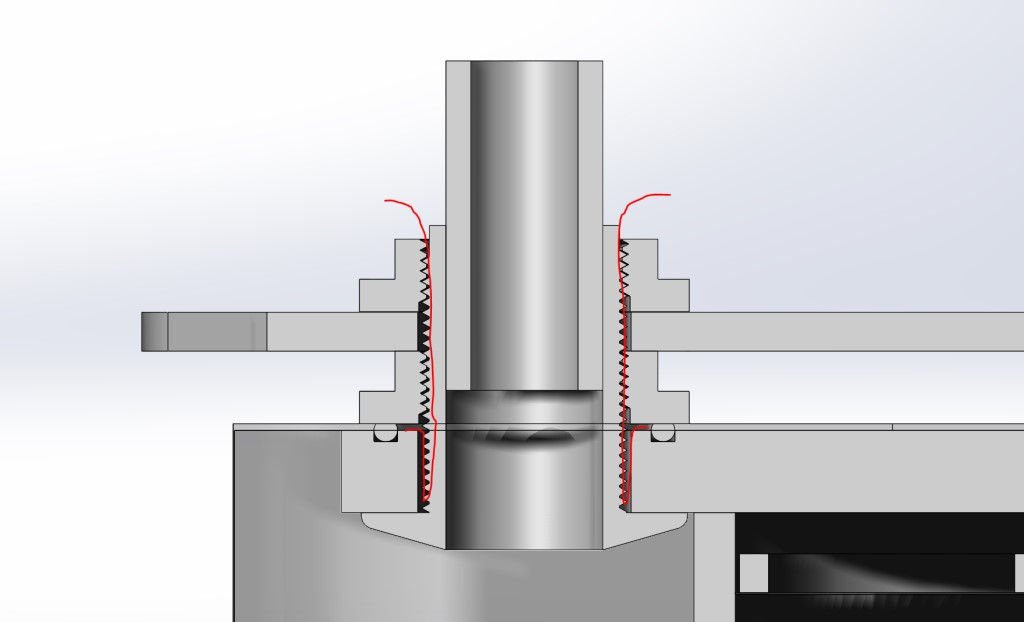
As you can see in this diagram, some water is actually allowed into the bag via the threads on the bulkhead fitting, but it is stopped by the oring and the glue on the bulkhead.
The other hole is a standard dump valve/BCD inflation port. These were “successfully” used on the i1 and i2 rebreathers- successful in that they did not leak, less successful in terms of actual diving.
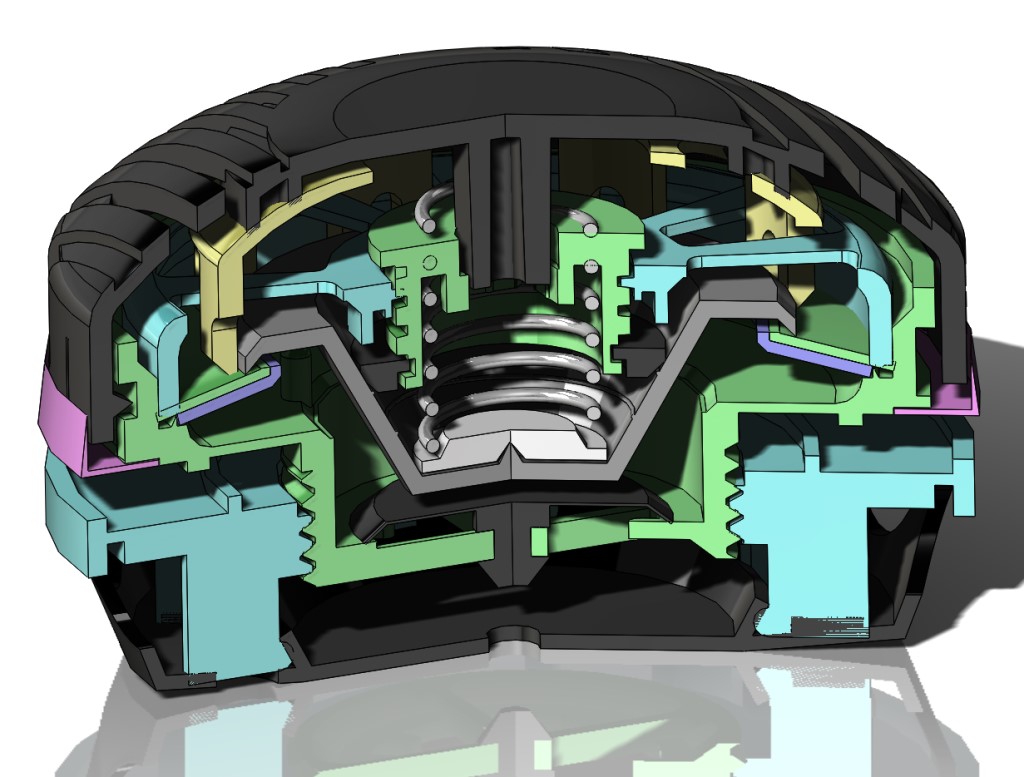
The modified component is the small white disk under the spring
The last (and yet tested) item is the drysuit exhaust valve/ overpressure relief valve. Once installed properly, this should help avoid over pressurizing the lungs on ascent. Its stock cracking pressure is adjustable between 3-10″ H2O, but by modifying the spring spacer I bumped it up to 8-16″ H2O. This is probably the leakiest of all the valves because it requires a large hole- a larger hole is harder to seal because the seal is longer. Usually these are installed with a sort of large rubber washer with a C-cross section. The material the seal is attaching to goes in the open part of the C, and the washer is glued in. Since I don’t have that washer, I haven’t installed it yet and I have been avoiding overpressure via the “oro-pharyngial” valve.
LEAK TESTING
Intensive leak testing (more here) allowed me to validate the design before committing to a whole build. That was important, because a lot of things did not work initially. For example, I couldn’t apply enough torque to the brass thumbscrews to seal the bag, so I had to switch to a nylock nut. Another example is that the original gasket for the bulkhead seals was determined to be inadequate.
HARNESS
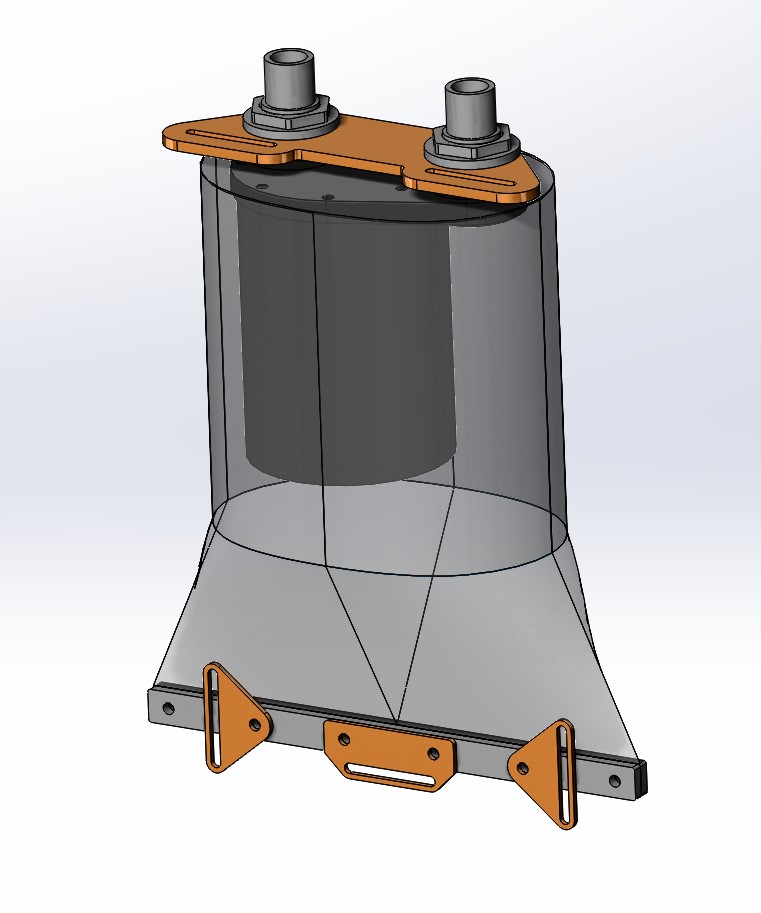
harness hardpoints highlighted in orange Just like with i3, the last thing I was really prepared to deal with was attaching this to my body. Unlike the i3, I knew that this challenge was coming. I considered something like a vest a la model 138, but that would require buying a few yards of fabric and knowing what to do with it, and getting a sewing machine. Instead, borrowed some inspiration from an oxydiver design (link) and backplates and designed in slots for a hogarthian harness. In the end, I actually think this is better since it is now compatible with all kinds of 2″ webbing accessories.
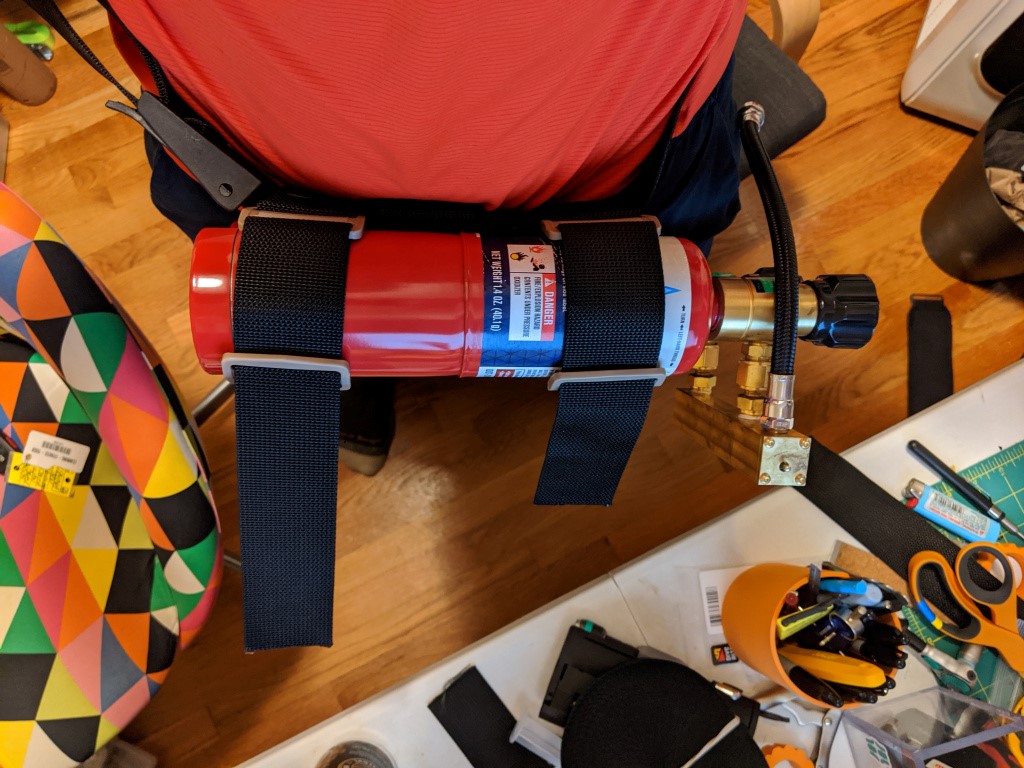
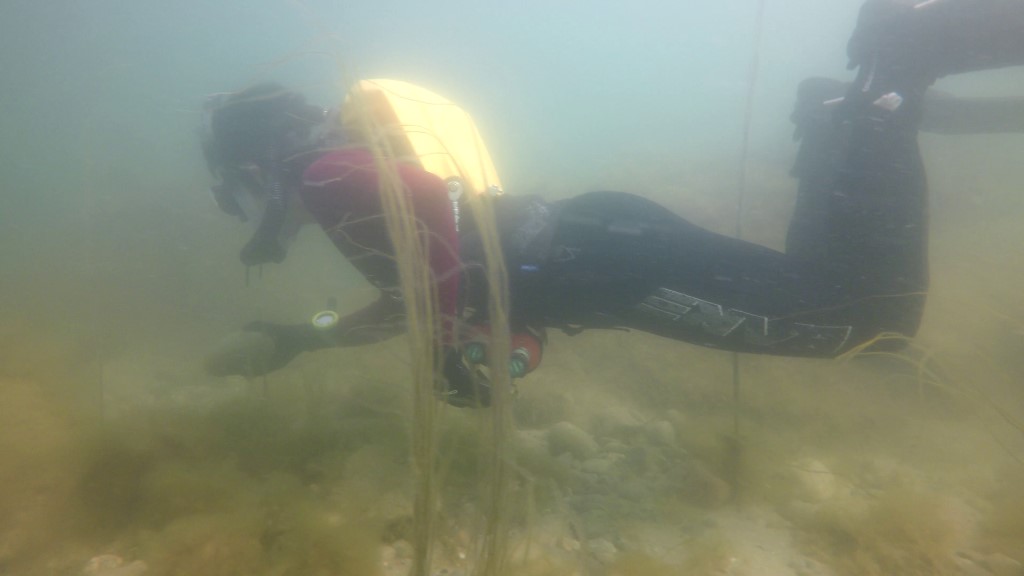
Divers view of the gas
Of course, there is no backplate, and the gas is mounted on the front of the diver. After playing around with a bucket of sliders and clips I came up with a simple loop around the two canisters, with a 2″ long loop at one end to put the waist strap through.
PERFORMANCE/REFLECTION
Another gem from the Nikonos
This rebreather is actually very fun to dive. I would actually consider diving this over OC on shallow dives. However, no project is ever perfect. The three things I will likely seek to improve in the inevitable i5 are:
- Terrestrial O2 regs rust and fail. O2 is expensive in small disposable bottles, and having a million of them around is silly. There is also no SPG. Normal scuba cylinders and regs are far superior.
- No place to put an inflation cylinder for drysuit. Even in 20′ of water I think I would prefer a drysuit over wet- especially if I were to dive in the winter.
- People say YERGONNADIE if you dont know your PPO2. There is some merit to this claim, but I feel it is not likely if you respect the depth limitations of an o2 rebreather.
A lot of these changes or issues have implications- if you have an inflation cylinder, why not make it breathable as backup? If you add oxygen sensing, why not add that breathable cylinder as dil? If you give an engineer a cookie…
Avery, thank you very much sharing your build and thoughs, very helpfull for other builders. I will certrainly recommend your cell tester story in the HBRA section of the homebuilder pages, a very nice read!

Therebreathersite was founded by Jan Willem Bech in 1999. After a diving career of many years, he decided to start technical diving in 1999. He immediately noticed that at that time there was almost no website that contained the history of closed breathing systems. The start for the website led to a huge collection that offered about 1,300 pages of information until 2019. In 2019, a fresh start was made with the website now freely available online for everyone. Therebreathersite is a source of information for divers, researchers, technicians and students. I hope you enjoy browsing the content!